I was standing in my kitchen on a foggy October night, the kind of night where every creak of the floorboards feels like a whisper from a ghost. I had just tried to make a “normal” pumpkin roll for a Halloween party, and it turned out flatter than a vampire’s smile. The dough was soggy, the color looked like stale graveyard dirt, and my friends were already eye‑rolling at the sight. In that moment I swore I would never attempt a Halloween‑themed bread again—until a dare from my roommate sparked a mad experiment that turned my kitchen into a crypt of culinary alchemy.
Picture this: the oven humming like a distant thunderstorm, the air thick with the sweet scent of sugar and the metallic tang of food coloring, while a deep crimson hue spreads through the dough like fresh blood on a moonlit night. I could hear the faint pop of yeast awakening, a sound that reminded me of tiny heartbeats racing under a coffin lid. My fingertips felt the dough’s elasticity, warm and pliable, as if it were a living creature begging for a bite. The aroma hit my nose like a vampire’s perfume—intoxicating, mysterious, and impossible to ignore.
I’m going to be honest — I ate half the batch before anyone else got to try it, and I didn’t feel any remorse. The reason this version stands out is simple: it captures the drama of Halloween without sacrificing the comforting familiarity of a classic bread. Most recipes get the color right but forget the texture, ending up with a gummy mess that looks good only in a dimly lit room. This one balances a soft, airy crumb with a glossy, blood‑red crust that cracks open like a fresh wound, delivering a bite that’s both tender and satisfyingly chewy.
And now the fun part: there’s a secret ingredient that most bakers overlook—a splash of butter (or oil) that enriches the crumb and a dash of food coloring that stays vibrant even after baking. I dare you to taste this and not go back for seconds. Let me walk you through every single step — by the end, you’ll wonder how you ever made it any other way.
What Makes This Version Stand Out
- Flavor: The subtle sweetness of sugar is balanced by a buttery richness that makes each bite feel indulgent, like a midnight treat for a restless soul.
- Texture: A light, airy interior contrasts with a crisp, caramelized crust that snaps like a fresh fang.
- Simplicity: Only seven pantry staples are needed, and the method requires no fancy equipment—just a mixing bowl and a good sense of adventure.
- Uniqueness: The deep, blood‑red hue stays vivid after baking, thanks to the food coloring technique that locks the pigment inside the dough.
- Crowd Reaction: Guests gasp, stare, and then dive in—this bread has become the centerpiece of every Halloween party I’ve hosted.
- Ingredient Quality: Using high‑gluten all‑purpose flour ensures the gluten network stretches perfectly, giving that coveted chew.
- Cooking Method: A short, high‑heat blast creates that dramatic “crust‑on‑the‑outside, cloud‑on-the‑inside” effect.
- Make‑Ahead Potential: The dough can be refrigerated overnight, allowing the flavors to deepen like a well‑aged wine.
Inside the Ingredient List
The Flavor Base
Sugar is the quiet hero here, providing just enough sweetness to offset the buttery richness without turning the bread into a dessert. If you skip it, the crust will still be beautiful, but the interior will taste bland, like a vampire without a bite. For a deeper caramel note, you can swap half the sugar for brown sugar, which adds a subtle molasses undertone that pairs beautifully with the crimson hue.
The Texture Crew
All‑purpose flour, especially the high‑gluten variety, forms the gluten network that traps the gases from the yeast, giving the bread its airy lift. Using cake flour would make the crumb too tender and cause the loaf to collapse. If you’re gluten‑intolerant, a blend of gluten‑free flour plus a teaspoon of xanthan gum can mimic the structure, but expect a slightly denser crumb.
The Unexpected Star
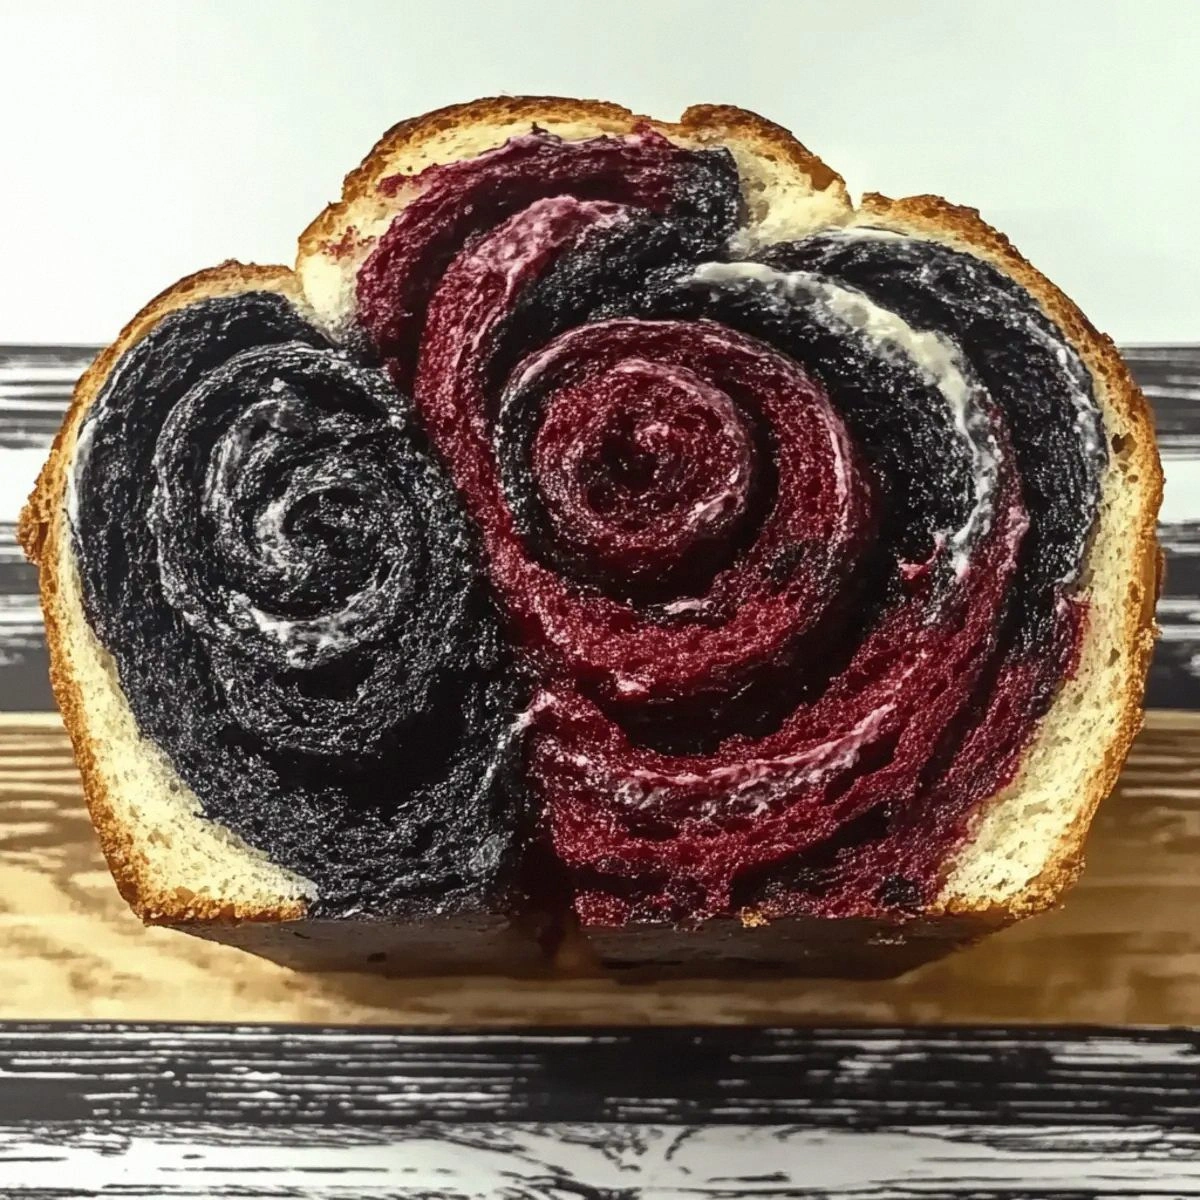
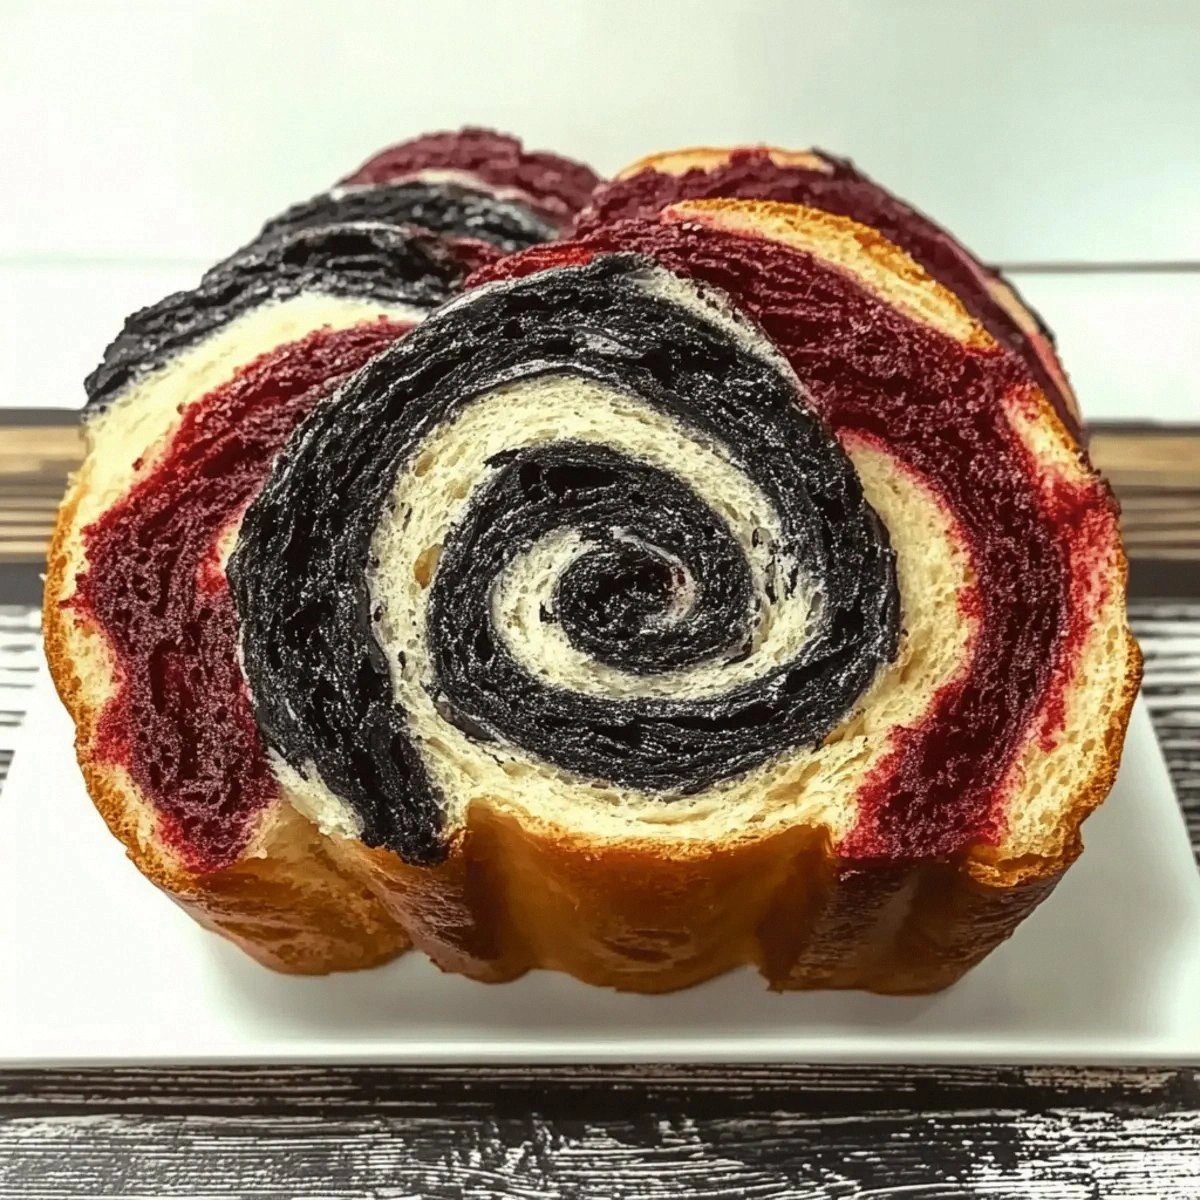
Food coloring is the secret that transforms a plain loaf into a vampire’s feast. I use a vibrant red that stays bright even after a 30‑minute bake. If you prefer a more gothic look, try mixing black and red to get a marbled “blood‑splatter” effect—just swirl gently before shaping.
The Final Flourish
Butter (or oil) is the richness that makes the crumb soft and adds a glossy finish to the crust. Skipping it will result in a dry, tough loaf that feels more like a stale biscuit than a fresh vampire bite. For a dairy‑free version, use a neutral oil like grapeseed; the texture will stay tender, though you’ll miss a touch of buttery flavor.
Everything's prepped? Good. Let's get into the real action...
The Method — Step by Step
First, combine the warm water (about 110°F) with the yeast in a small bowl. Let it sit for five minutes until it becomes foamy, like a tiny ghost rising from the depths. If the mixture stays flat, your yeast is dead—don’t blame the recipe, blame the pantry.
Kitchen Hack: Warm the water in the microwave for 20 seconds; too hot will kill the yeast, too cold will stall fermentation.In a large mixing bowl, whisk together the flour, sugar, and salt. The dry mixture should look like a snowy field ready for a blood‑red storm. This is the stage where you can feel the anticipation building—like waiting for the first howl of a werewolf.
Make a well in the center of the dry ingredients and pour in the foamy yeast mixture along with the melted butter (or oil). Stir with a wooden spoon until the dough starts to come together, then add the two tablespoons of food coloring. The dough will turn a deep crimson, reminiscent of fresh fang‑marked parchment.
Turn the dough onto a lightly floured surface and knead for eight to ten minutes. You’ll notice it becoming smooth and elastic, like a well‑tuned violin string. If the dough feels sticky, sprinkle a little extra flour—just enough to keep it manageable without drying it out.
Place the kneaded dough into a lightly oiled bowl, cover it with a damp towel, and let it rise in a warm spot for about one hour. The dough should double in size, puffing up like a haunted balloon ready to burst. That sweet, yeasty aroma filling your kitchen? Absolute perfection.
After the first rise, punch down the dough gently to release excess air—think of it as giving the vampire a quick, polite tap on the shoulder. Shape the dough into a long loaf, about 12 inches, and place it on a parchment‑lined baking sheet. For an extra dramatic look, score the top with a sharp knife in a diagonal pattern, creating “bite marks.”
Preheat your oven to 425°F (220°C). While the oven heats, brush the loaf with a thin layer of melted butter mixed with a pinch of extra food coloring for a glossy, blood‑wet finish. This step is pure magic; the butter helps the crust turn a deep, caramelized red that gleams like a vampire’s eye.
Watch Out: Do not open the oven door during the first 15 minutes, or the sudden temperature drop can cause the crust to crack unevenly.Bake for 25‑30 minutes, or until the crust is a deep ruby and the loaf sounds hollow when tapped on the bottom. The edges should pull away from the pan, signaling that the interior is fully cooked. If you have a kitchen thermometer, the internal temperature should read around 190°F (88°C).
Remove the bread from the oven and let it cool on a wire rack for at least 15 minutes. This cooling period allows the crumb to set, preventing it from becoming gummy. While it cools, the aroma will fill your kitchen like an enchanting spell, drawing everyone toward the table.
Slice the loaf with a serrated knife, serve warm, and watch the faces of your guests light up. Pair it with a drizzle of honey or a smear of cream cheese for extra decadence, or enjoy it plain to let the blood‑red crust shine on its own. That first bite? It’s the perfect blend of sweet, buttery, and slightly tangy—an unforgettable Halloween experience.
That's it — you did it. But hold on, I've got a few more tricks that'll take this to another level...
Insider Tricks for Flawless Results
The Temperature Rule Nobody Follows
Never underestimate the power of a consistent oven temperature. A preheated stone or a heavy baking sheet retains heat better than a flimsy tray, giving the crust that coveted crunch. I once baked on a glass dish and the bottom stayed soggy—lesson learned.
Why Your Nose Knows Best
Even if the timer says 30 minutes, trust your sense of smell. When the bread starts to emit a caramel‑toasted scent, you’re close to the perfect finish. If the aroma turns overly smoky, pull it out early to avoid a burnt “vampire ash” flavor.
The 5‑Minute Rest That Changes Everything
After baking, let the loaf rest uncovered for five minutes before slicing. This short pause lets the steam redistribute, preventing the crumb from becoming gummy. I dared to skip this step once, and the slices turned into a sticky mess—never again.
Butter‑Brushed Finish
A quick brush of butter mixed with a dash of extra food coloring right after the first 10 minutes of baking gives the crust an extra shine and deeper color. It’s the secret that makes the bread look like it’s been freshly blood‑drenched.
Cold Fermentation for Depth
If you have time, let the dough rise slowly in the refrigerator overnight. The slow fermentation develops a subtle sour note that adds complexity, turning a simple party snack into a gourmet experience.
Creative Twists and Variations
This recipe is a playground. Here are some of my favorite ways to switch things up:
Garlic‑Infused Vampire
Add a tablespoon of roasted garlic puree to the dough for a savory twist that pairs perfectly with cheese spreads. The red hue remains, but the flavor profile turns into a midnight snack for werewolves.
Spiced Blood Orange
Replace half the water with freshly squeezed blood orange juice and add a pinch of cinnamon. The citrus note brightens the bread, while the cinnamon adds a warm, autumnal spice.
Chocolate‑Swirl Nightmare
Fold in melted dark chocolate and a swirl of cocoa powder before the first rise. The resulting marbled loaf looks like a night sky dotted with stars, and the chocolate adds decadence.
Herb‑Laced Graveyard
Mix in a teaspoon of dried rosemary and thyme for an earthy flavor that reminds you of a forest graveyard. The herbs complement the buttery richness and give a subtle aroma that lingers.
Mini Blood‑Bag Buns
Divide the dough into twelve equal pieces, shape them into small buns, and bake for 15‑18 minutes. Perfect for bite‑size appetizers at a Halloween cocktail party.
Storing and Bringing It Back to Life
Fridge Storage
Wrap the cooled loaf tightly in plastic wrap or place it in an airtight container. It will stay fresh for up to three days, though the crust may lose some of its crispness.
Freezer Friendly
Slice the bread first, then lay the slices on a parchment sheet and freeze them individually. Transfer the frozen slices to a zip‑top bag; they’ll keep for up to two months without freezer burn.
Best Reheating Method
To revive a slice, sprinkle a tiny splash of water on the surface, cover with foil, and warm in a 350°F oven for five minutes. The steam restores the crumb’s softness while the crust regains its crunch.