I was standing in my kitchen on a breezy March afternoon, staring at a half‑baked batch of plain sugar cookies that looked like they’d been rescued from a mid‑season snowstorm. The butter was still too soft, the sugar had clumped, and my roommate walked in with a smug grin, daring me to turn those sad circles into something that would actually make people smile. I took the challenge, grabbed a bag of freeze‑dried berries that had been hiding in the pantry for months, and whispered a promise to myself: “I dare you to taste this and not go back for seconds.” The result? A cookie that feels like a spring garden exploded in your mouth, complete with a bright green center that looks like a tiny meadow.
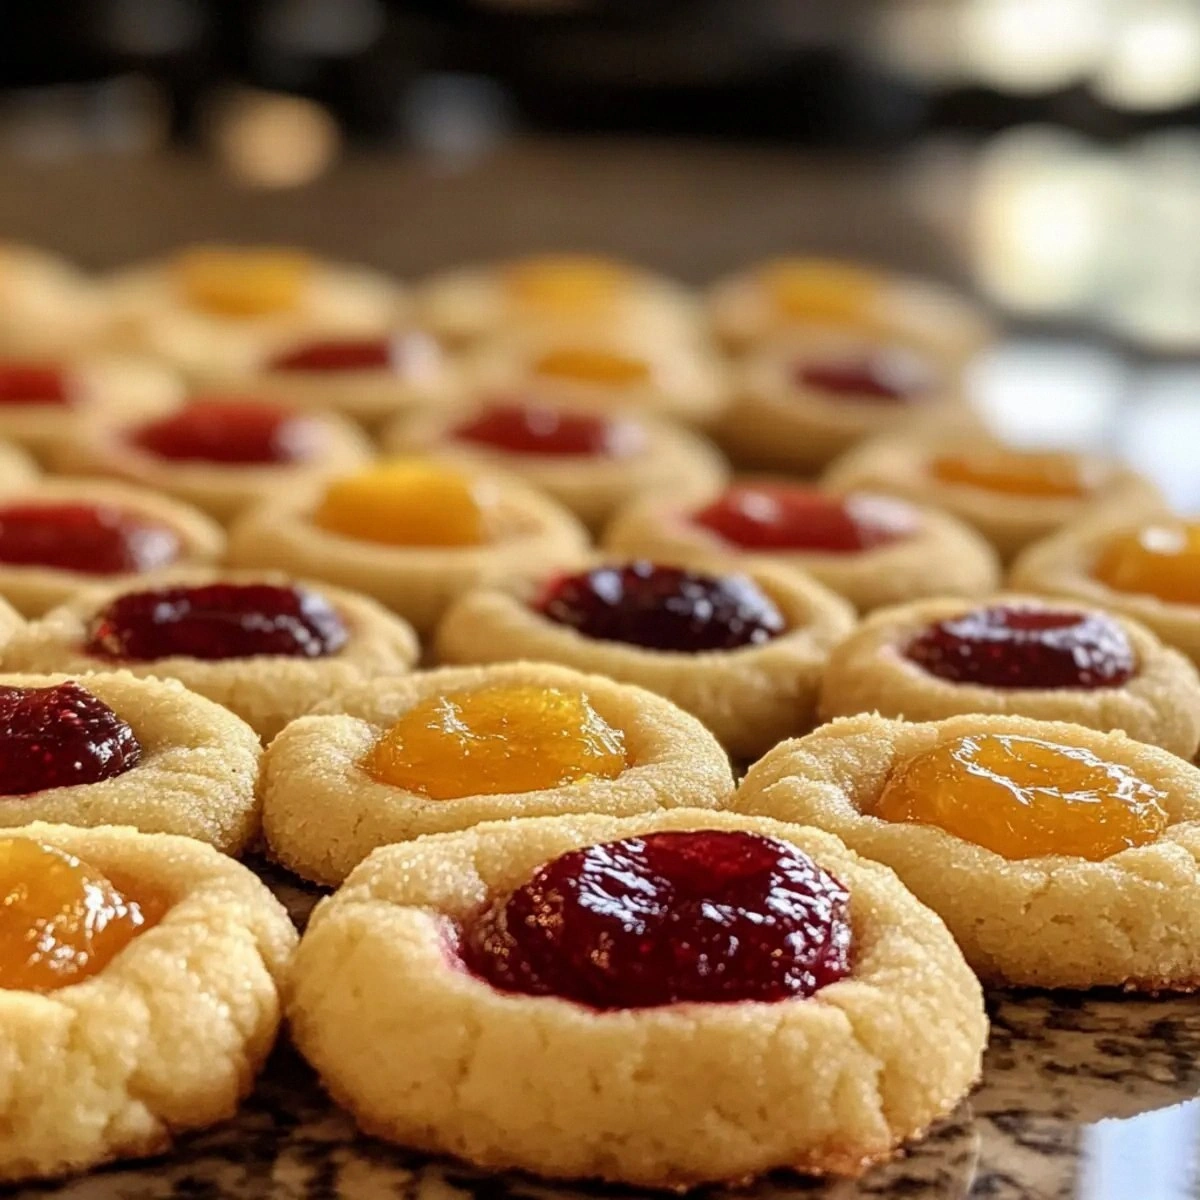
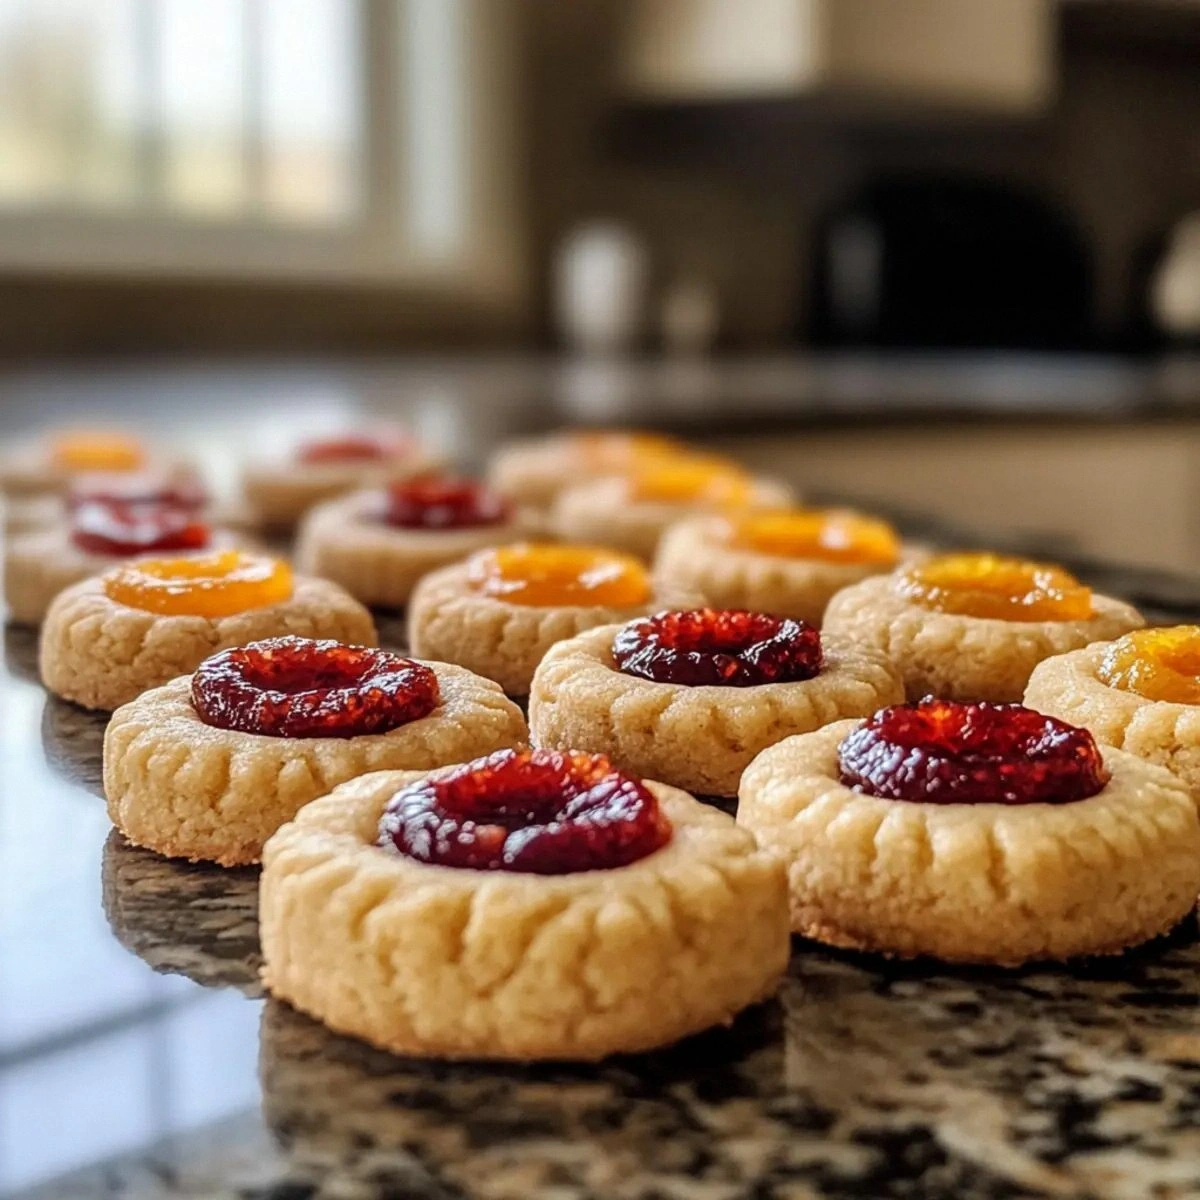
Picture this: the moment you pull the tray out of the oven, a warm, buttery aroma swirls around the kitchen, mingling with the citrusy zing of lime and the sweet perfume of berries. The cookies are golden on the edges, their tops cracked just enough to reveal a glossy, jewel‑like filling that glistens like dew on fresh leaves. You hear the faint crack of the cookie crust as you bite, followed by a creamy burst that coats your tongue in a silky, tangy‑sweet sauce. Your fingers feel the slight give of the dough, the perfect balance between crisp and chewy, while the bright green hue adds a playful pop that says, “It’s spring, and I’m ready to celebrate!”
What makes this version truly stand out is the secret weapon: freeze‑dried fruit rehydrated with a splash of lime juice, then thickened with cornstarch for a jam‑like consistency that doesn’t ooze out of the thumbprint. Most recipes get this completely wrong, either ending up with a runny center or a bland, overly sweet one. Here, the fruit retains its natural tartness, the lime zest lifts everything, and the single drop of green food coloring turns the filling into a festive, eye‑catching surprise that even the pickiest eaters can’t resist. And let’s be honest — I ate half the batch before anyone else got a chance to try it.
Okay, ready for the game‑changer? I’m about to walk you through every single step, from selecting the perfect butter to mastering the art of the thumbprint. By the end, you’ll wonder how you ever made any other thumbprint cookie. This isn’t just a recipe; it’s a spring‑time ritual that will have you pulling these beauties out of the oven, the whole kitchen smelling incredible, and your guests begging for the secret. Let’s dive in.
What Makes This Version Stand Out
- Flavor Explosion: The combination of lime zest, fresh‑tasting freeze‑dried fruit, and a hint of vanilla creates a layered taste that dances on the palate like a spring waltz.
- Texture Harmony: A buttery, crisp edge gives way to a tender, melt‑in‑your‑mouth center, while the filling adds a silky, jam‑like contrast that’s pure bliss.
- Simplicity Meets Sophistication: Only a handful of pantry staples are needed, yet the result looks and feels like something you’d find in a boutique bakery.
- Visual Wow Factor: The pop of green filling turns each cookie into a miniature work of art, perfect for Instagram or a festive spring brunch.
- Crowd‑Pleaser: Whether you’re serving kids, friends, or that one picky aunt, the bright flavor and pretty appearance win every time.
- Ingredient Quality: Using real butter, freeze‑dried fruit, and fresh lime ensures the flavors are vivid and authentic, not artificial.
- Make‑Ahead Magic: The cookies hold up beautifully for up to three days, and the filling can be pre‑made and refrigerated, saving you precious time on the big day.
- Seasonal Flexibility: While the lime and green hue scream spring, you can swap the fruit for any seasonal berry, making this a year‑round hero.
Inside the Ingredient List
The Flavor Base
Butter is the heart of any good cookie, and using a full cup of real, unsalted butter gives you that rich, buttery foundation that makes the edges crisp yet tender. If you substitute margarine, you’ll lose that buttery depth and end up with a waxy texture. For the best result, choose a high‑fat European‑style butter; its lower water content means a tighter crumb and a more pronounced flavor. Tip: Let the butter soften at room temperature for 30 minutes, then give it a quick whisk to break up any lumps before creaming.
Granulated sugar not only sweetens but also contributes to the cookie’s delicate crunch. The 3/4 cup measured for the dough is balanced with an additional 1/2 cup for the filling, ensuring the sweet‑tart equilibrium stays perfect. If you prefer a deeper caramel note, swap half of the white sugar for light brown sugar, but keep in mind the moisture content will increase, slightly softening the edges.
Vanilla extract, though used in modest amounts (1 tsp in the dough and another tsp in the filling), is the secret aromatic that ties the whole thing together. It’s the invisible hand that makes the lime and fruit sing without overpowering them. Always use pure extract rather than imitation; the difference is noticeable in the final aroma.
The Texture Crew
All‑purpose flour provides the structural backbone. Two cups give the dough enough body to hold the thumbprint without spreading too much. If you want a softer, cake‑like texture, you could replace a quarter of the flour with cake flour, but the classic crisp edge will be a bit less pronounced.
Salt, at just 1/2 teaspoon, is the silent flavor enhancer that balances the sweetness and bright acidity. Skipping it will make the cookies taste flat, as if they’re missing that subtle “kick.” A pinch of flaky sea salt sprinkled on top just before baking adds a sophisticated crunch that pops against the sweet filling.
Cornstarch is the unsung hero of the filling. It thickens the rehydrated fruit into a glossy jam without making it gummy. If you don’t have cornstarch, potato starch works just as well, but be careful not to over‑cook, or you’ll get a glossy but overly firm center.
The Unexpected Star
Freeze‑dried fruit is the game‑changer. Because the water is removed, the fruit retains an intense flavor that bursts once rehydrated. When you add 1 cup of these berries to the lime‑juice mixture, they swell back to near‑fresh size, releasing their natural sugars and a bright, almost floral note. If you can’t find freeze‑dried, use fresh berries and dry them slightly in the oven, but expect a milder flavor.
Lemon or lime juice provides the necessary acidity to brighten the fruit and prevent the filling from turning bland. I prefer lime for its slightly sweeter, more aromatic profile, which pairs beautifully with the green food coloring for a spring‑time vibe. The zest adds an extra layer of citrus oil that you can actually taste.
Butter reappears in the filling (2 tbsp) to give the jam a glossy sheen and a velvety mouthfeel. It also helps the filling set slightly as it cools, preventing it from running off the cookie. The single drop of green food coloring is purely aesthetic, turning the filling into a spring‑time emerald that makes the cookie instantly photogenic.
The Final Flourish
Eggs act as the binding agent, with one large egg in the dough and another in the filling. The dough egg adds structure, while the filling egg helps emulsify the lime‑juice mixture, ensuring a smooth, uniform texture. If you’re allergic, a flax‑egg (1 tbsp ground flaxseed + 3 tbsp water) can replace each egg, but expect a slightly denser crumb.
When you’re ready to assemble, the key is to keep the dough chilled until you’re ready to bake. This prevents spreading and keeps the edges crisp. The filling should be slightly warm when you pipe it in, allowing it to flow easily into the thumbprint without breaking the cookie’s surface.
Everything’s prepped? Good. Let’s get into the real action…
The Method — Step by Step
First, whisk together the butter and 3/4 cup granulated sugar in a chilled bowl until the mixture is pale, fluffy, and smells like sweet butter on a sunny day. This should take about 2–3 minutes on medium speed; you’ll notice the color lightening and the texture becoming almost like a cloud. Power transition: Okay, ready for the game‑changer? Add the egg and vanilla extract, beating just until incorporated. The dough should look smooth, not grainy.
Kitchen Hack: Scrape down the sides of the bowl with a rubber spatula after each addition; this ensures every bit of butter is emulsified and prevents dry spots.Sift the flour, salt, and 2 tablespoons of cornstarch together into a separate bowl. The cornstarch is crucial for a tender crumb and will also help the filling set later on. Gently fold the dry ingredients into the butter mixture using a spatula, being careful not to over‑mix. Over‑mixing develops gluten, which can make the cookies tough instead of melt‑in‑your‑mouth.
Shape the dough into a disk, wrap it in plastic, and chill for at least 30 minutes. This step is non‑negotiable; a cold dough holds its shape during baking, giving you those perfect thumbprint cavities. While the dough chills, you can start the filling.
In a saucepan, combine the freeze‑dried fruit, lime juice, zest, 1/2 cup granulated sugar, the second egg, 1 tsp vanilla extract, and the drop of green food coloring. Bring the mixture to a gentle simmer over medium‑low heat, stirring constantly. As the fruit rehydrates, you’ll see the color shift from pale to a vivid emerald‑green, and the scent will become intoxicatingly citrusy.
Watch Out: Do not let the mixture boil vigorously; a hard boil will cause the egg to curdle, ruining the silky texture of the filling.Once the mixture thickens (it should coat the back of a spoon), remove it from heat and whisk in the 2 tablespoons of butter until fully melted and glossy. Let the filling cool to room temperature while you preheat the oven to 350°F (175°C). This cooling period allows the butter to solidify slightly, preventing the filling from becoming too runny when piped.
Preheat your oven to 350°F (175°C) and line two baking sheets with parchment paper. Scoop the chilled dough onto the sheets, spacing each mound about 2 inches apart. Using the back of a small spoon or the tip of a thumb, press a shallow indentation into the center of each cookie. The indentation should be about ½ inch wide—large enough to hold the filling but not so deep that the cookie collapses.
Kitchen Hack: Freeze the dough balls for 10 minutes before making the thumbprints; the cold dough resists tearing and keeps the indentations crisp.Pipe or spoon a generous dollop of the cooled fruit filling into each thumbprint. The filling should sit just below the surface, creating a subtle “mound” that will melt slightly as the cookie bakes. If the filling spreads too much, chill it for an extra 5 minutes before piping.
Bake the cookies for 12–15 minutes, or until the edges turn a light golden brown and the tops begin to crack. You’ll know they’re done when the edges start pulling away from the parchment paper, and a faint caramel scent wafts through the kitchen. Remember, the cookies continue to firm up as they cool, so avoid over‑baking.
Allow the cookies to cool on the baking sheet for 5 minutes, then transfer them to a wire rack. The cooling process lets the filling set fully, creating that perfect jam‑like bite. Once completely cooled, store them in an airtight container; they’ll stay fresh for up to three days, and the flavors only improve as the butter mellows.
That's it — you did it. But hold on, I've got a few more tricks that'll take this to another level…
Insider Tricks for Flawless Results
The Temperature Rule Nobody Follows
Most home bakers bake at “room temperature” dough, which leads to spreading and uneven edges. By chilling the dough for at least 30 minutes (and even a quick 10‑minute freeze before shaping), you lock in the butter, creating a controlled melt that yields a crisp edge and a soft center. I once baked a batch straight from the counter and ended up with flat, sad disks—lesson learned.
Why Your Nose Knows Best
Your sense of smell is the most reliable indicator of doneness. Around the 10‑minute mark, you’ll start to detect a buttery caramel note; that’s your cue to peek through the oven window. If the scent turns too sweet or burnt, pull them out early. Trust that nose—your taste buds will thank you.
The 5‑Minute Rest That Changes Everything
After baking, let the cookies rest on the sheet for exactly five minutes before moving them. This short pause lets the steam finish cooking the interior gently, preventing a gummy center. A friend tried skipping this step once and ended up with a soggy middle that never set. Don’t be that friend.
The Secret of the Green Tint
Only a single drop of food coloring is needed because the lime juice already imparts a natural hue. Over‑coloring can taste metallic, so add the drop, stir, and taste. If you prefer a deeper shade, add another drop—but remember, less is more.
The Perfect Pairing
Serve these cookies with a dollop of lightly sweetened whipped cream or a splash of chilled prosecco. The acidity of the lime cutting through the buttery richness creates a harmonious balance that feels like a celebration in every bite.
Creative Twists and Variations
This recipe is a playground. Here are some of my favorite ways to switch things up:
Berry‑Bliss Swap
Replace the lime with lemon juice and zest, and use freeze‑dried strawberries instead of the mixed berries. The resulting pink‑orange filling pairs beautifully with a dusting of powdered sugar.
Tropical Breeze
Swap the lime for passion‑fruit puree and the freeze‑dried berries for freeze‑dried mango. Add a pinch of toasted coconut to the dough for an exotic crunch.
Chocolate‑Covered Delight
After the cookies have cooled, drizzle them with melted dark chocolate and sprinkle a pinch of sea salt. The bitter chocolate contrasts the sweet‑tart filling, creating a sophisticated flavor combo.
Spiced Autumn
Use freeze‑dried apples, a dash of cinnamon, and replace lime juice with a splash of apple cider. The green coloring can be swapped for a warm amber hue using a drop of caramel food coloring.
Nutty Crunch
Fold finely chopped toasted pistachios into the dough for a subtle nutty flavor and a pop of color that complements the green filling.
Storing and Bringing It Back to Life
Fridge Storage
Place the cooled cookies in an airtight container lined with a parchment sheet. Store them in the refrigerator for up to three days. The cool environment keeps the butter from softening too much, preserving the crisp edge.
Freezer Friendly
If you want to make a big batch, freeze the baked cookies (without the filling) on a tray, then transfer them to a zip‑top bag. When you’re ready to serve, bake the frozen cookies for an extra 3‑4 minutes, then pipe in fresh filling. The cookies will taste as if they were just made.
Best Reheating Method
To revive cookies that have gone a bit stale, preheat your oven to 300°F (150°C), place the cookies on a baking sheet, and add a tiny splash of water (about a teaspoon) to the tray. The steam will re‑hydrate the crumb, and in 5‑7 minutes you’ll have a cookie that’s warm, fragrant, and just as tender as the day it left the oven.