Picture this: it’s a rainy Saturday afternoon, the kitchen lights flicker, and you’re staring at a pile of vegetables that could double as a decorative centerpiece. You’re craving something crunchy, but the thought of deep‑frying makes you feel guilty and your pantry is empty of oil. That night, a friend dared you to make the crispiest veggie chips in an air fryer, and you thought, “I’ll be honest — I ate half the batch before anyone else got to try it.” The result was a revelation: golden, blistered slices that crackle like thin ice under a thumb. I’m still buzzing about how the combination of sweet potato, beetroot, and zucchini turned into a snack that’s both wholesome and utterly addictive.
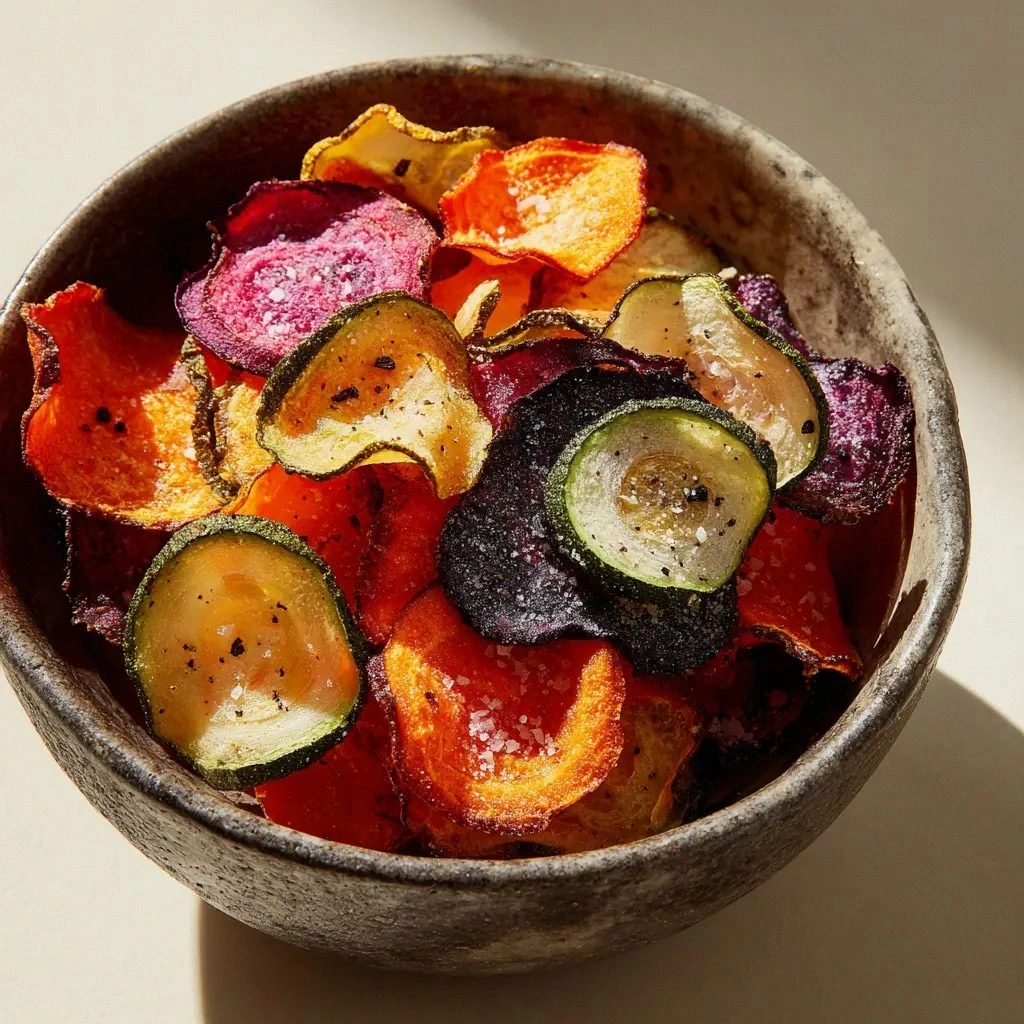
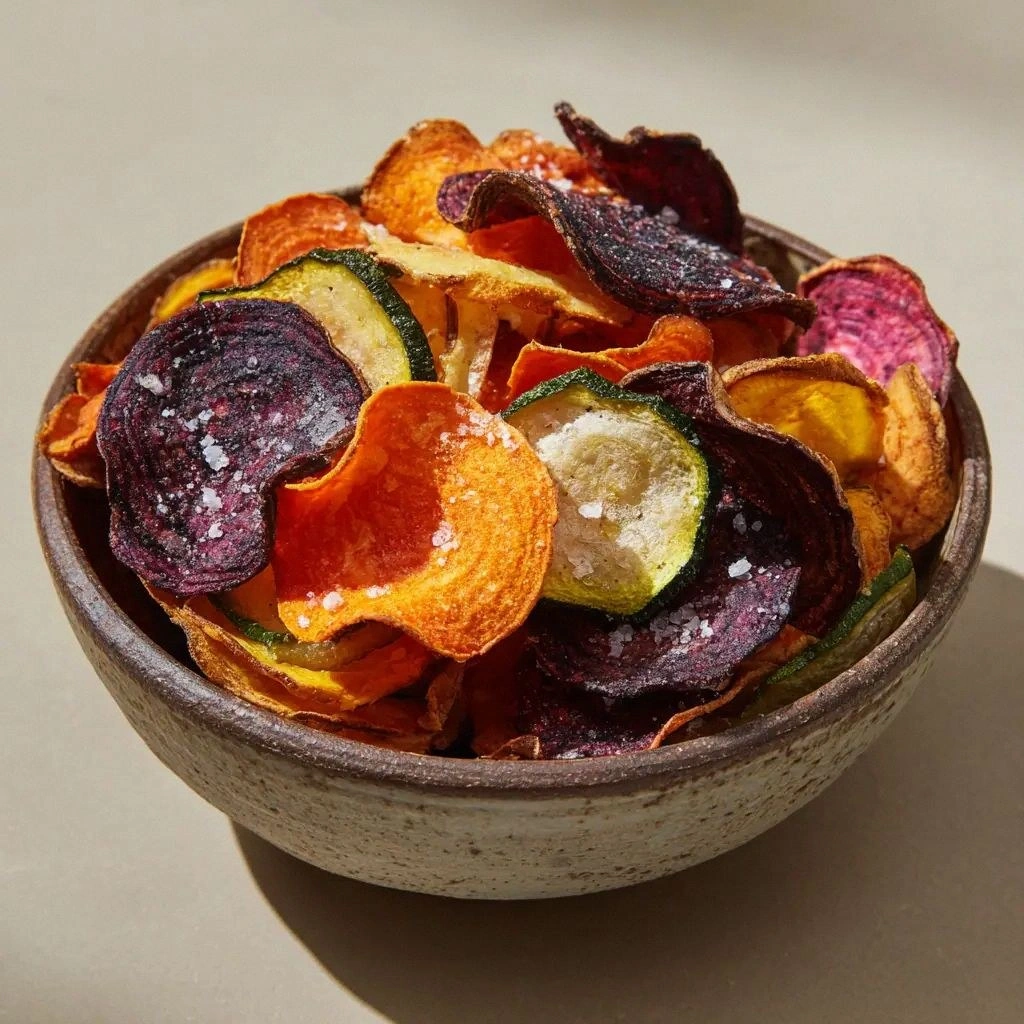
The first thing you notice is the aroma. As soon as the chips hit the air fryer, a sweet, earthy perfume rises, mingling with the faint metallic tang of the appliance. Your eyes are drawn to the vibrant colors: deep crimson beet, bright orange sweet potato, and the emerald green of zucchini, all glistening with a glossy sheen of olive oil. The sound is a satisfying sizzle that promises crispness; the texture feels almost buttery as you lift a slice, and the flavor is a layered harmony of caramelized sweetness, earthy depth, and a subtle pepper kick that lingers on the palate. If you’ve ever struggled with bland chips, this is hands down the best version you’ll ever make at home.
What makes this recipe stand out isn’t just the ingredients—it’s the method. The air fryer’s rapid air circulation locks in moisture, creating a crisp exterior while preserving the tender interior. The secret lies in the thin, uniform slices and the precise seasoning blend: kosher salt, coarse white sea salt flakes, and a touch of crushed black pepper. I dare you to taste this and not go back for seconds. The result is a snack that satisfies the craving for something crunchy without the guilt of deep frying.
I’ve spent countless hours tweaking this recipe, and every tweak has brought it closer to perfection. From slicing the veggies at the exact thickness to preheating the air fryer at 400°F, each detail matters. The final touch? A quick toss of olive oil that coats the chips like velvet, ensuring every bite is a buttery, savory explosion. And if you’re wondering what makes it so unique, the answer is simple: a blend of colors, flavors, and textures that dance together in perfect harmony.
Most recipes get this completely wrong, focusing on one vegetable or over‑cooking. Here’s what actually works: thin slices, moderate oil, and a balanced seasoning. The result is a snack that’s light enough to pair with a dip yet substantial enough to satisfy a hunger. Picture yourself pulling this out of the oven, the whole kitchen smelling incredible, and friends lining up for a bite. And now the fun part: the detailed steps that will guide you to chip‑making mastery.
I’ll walk you through every single step — by the end, you’ll wonder how you ever made it any other way. From selecting the freshest produce to mastering the air fryer’s quirks, this guide covers everything you need. If you’ve ever struggled with crispness or uneven cooking, you’re not alone — and I’ve got the fix. Let’s dive in and create the ultimate veggie chips that will become the talk of every gathering.
What Makes This Version Stand Out
- Taste: The sweet potato brings a natural caramel sweetness, the beetroot offers earthy depth, and the zucchini adds a mild, fresh note. Together, they create a flavor profile that feels both comforting and exciting.
- Texture: The air fryer’s rapid circulation locks in moisture while forming a crisp outer shell, resulting in chips that snap like thin ice but stay tender inside.
- Visual Appeal: A rainbow of colors that not only looks stunning on a plate but also signals nutritional diversity.
- Health Conscious: Low in fat, no deep‑frying oil, and packed with fiber and vitamins, this snack is a guilt‑free indulgence.
- Time Efficiency: Prep in 10 minutes, cook in 15, and you’re ready to serve in under 30 minutes—perfect for a busy weeknight.
- Make‑Ahead Friendly: Once baked, the chips stay crisp for up to 48 hours when stored properly, making them ideal for parties or on-the‑go snacks.
- Ingredient Quality: Using medium-sized, firm vegetables ensures even slicing and optimal flavor extraction.
- Flavor Flexibility: The seasoning blend is simple yet customizable, allowing you to experiment with herbs or spices without overpowering the natural flavors.
Alright, let's break down exactly what goes into this masterpiece…
Inside the Ingredient List
The Flavor Base
The sweet potato is the cornerstone of this chip mix, bringing a natural sweetness that caramelizes beautifully in the air fryer. Its high starch content helps create that coveted golden crust. If you skip the sweet potato, the chips lose that subtle caramel note and become more like plain zucchini. For a slightly sweeter version, swap half the sweet potato with a small orange carrot—just remember to slice it thinner to match the other veggies.
The Texture Crew
Zucchini provides a light, airy texture that balances the denser sweet potato and beetroot. It’s crucial to keep the zucchini slices thin; thicker slices will steam rather than crisp. If you’re short on zucchini, you can use a small courgette or even a thinly sliced carrot to maintain the crunch. The key is to keep the moisture content low—dry the slices with a paper towel before seasoning.
The Unexpected Star
Beetroot is the showstopper, adding a deep, earthy flavor and a vibrant color that turns the chips into a visual masterpiece. Its natural sugars caramelize, creating a sweet undertone that pairs wonderfully with the pepper. If beetroot is out of season, try a small portion of roasted red pepper for a similar sweet bite and color burst. Keep the beetroot slices as thin as the other veggies; evenness is essential for uniform cooking.
The Final Flourish
The seasoning trio—kosher salt, coarse white sea salt flakes, and crushed black pepper—provides a balanced flavor profile that enhances each vegetable without overpowering them. The kosher salt adds a clean saltiness, while the coarse flakes give a textural pop that’s felt in every bite. The pepper adds a subtle heat that lingers on the tongue. If you prefer a smoky twist, sprinkle a pinch of smoked paprika before baking.
Everything's prepped? Good. Let's get into the real action…
The Method — Step by Step
- Before you even touch the air fryer, preheat it to 400°F (200°C). This step is crucial because a hot environment ensures the first contact of the veggies creates a quick sear, locking in moisture. While the unit warms, wash each vegetable under cool running water, removing any dirt or wax. Pat them dry with a clean towel—any surface moisture will interfere with crisping. Slice the sweet potato, beetroot, and zucchini into 1/8-inch thick rounds, using a mandoline for precision. The uniformity of the slices guarantees even cooking and a consistent crunch across all chips. Once sliced, place them on a tray lined with parchment paper to prevent sticking during the pre‑mixing stage.
- In a large bowl, combine the sliced vegetables, 1.5 tablespoons of olive oil, 1 tablespoon of kosher salt, 1 teaspoon of coarse white sea salt flakes, and 0.5 teaspoon of crushed black pepper. Toss gently but thoroughly, ensuring each slice is coated evenly. The olive oil acts as a carrier for the seasoning and helps the chips develop a golden, crisp exterior. The salt mixture balances the sweetness of the sweet potato and beetroot, while the pepper adds a subtle kick. Let the seasoned slices sit for 5 minutes—this allows the flavors to meld and the oil to penetrate the vegetables. After the resting period, spread the chips in a single layer in the air fryer basket, ensuring no overlap; overlapping creates steam pockets that hinder crispness.
- Place the basket in the preheated air fryer and set the timer for 12 minutes. After the first 6 minutes, pause the fryer and shake the basket gently, redistributing the chips for even cooking. The shaking helps each side get exposed to the hot air, preventing uneven browning. At the 12-minute mark, check the chips—if they’re not yet golden or if the edges look slightly dry, give them a quick flip with tongs and bake for an additional 3 minutes. The goal is a light, caramelized crust that’s still tender inside. When the timer beeps, remove the basket and let the chips rest on a cooling rack for 5 minutes; this allows residual heat to finish the crisping process.
- Once the chips are done, transfer them to a large mixing bowl. While they’re still hot, toss them with a little more sea salt flakes—this step ensures each chip has a satisfying crunch and a hint of savory depth. The hot chips will absorb the extra salt, giving a more pronounced flavor profile. If you’re a fan of a sweet finish, dust the chips lightly with a mixture of cinnamon and a touch of sugar; this will caramelize slightly, creating a sweet‑savory combo that’s irresistible. Let the chips cool completely before serving; they’ll be at their crispiest when they’re slightly chilled.
- Now comes the trickiest part: ensuring the chips don’t become soggy when stored. To avoid this, let them cool fully on a wire rack, then place them in an airtight container with a paper towel to absorb any residual moisture. The paper towel should be folded into a square and placed at the bottom of the container; it will keep the chips dry. If you’re storing them for longer than 24 hours, consider adding a small sachet of silica gel or a handful of uncooked rice to the container to absorb excess humidity. When you’re ready to reheat, preheat the air fryer to 375°F (190°C) and bake the chips for 3–4 minutes, stirring halfway through to ensure even crispness.
- Serve the chips immediately with a dip of your choice—ranch, tzatziki, or a spicy yogurt sauce works wonderfully. The chips are best enjoyed hot, as their crunch will slowly soften as they sit. If you’re hosting a gathering, arrange them on a platter with a colorful dip to create an eye‑catching centerpiece. The chips also pair beautifully with a light salad or a bowl of soup, adding a satisfying crunch to every bite. Remember, the best chips are those that crackle with each bite, delivering a burst of flavor that lingers on the tongue.
- That’s it— you did it. But hold on, I've got a few more tricks that'll take this to another level. Experiment with different herbs—rosemary, thyme, or oregano—by adding them to the seasoning mix before baking. The result is a fragrant, savory chip that pairs wonderfully with Mediterranean dips. For a sweet variation, sprinkle a light dusting of powdered sugar after baking; the sugar will caramelize slightly, creating a sweet, crisp coating. These simple tweaks transform the humble veggie chip into a gourmet snack that’s sure to impress.
Insider Tricks for Flawless Results
The Temperature Rule Nobody Follows
Many cooks set their air fryer to 350°F, thinking it’s safe for all vegetables. However, 400°F is the sweet spot for crisping while preventing burning. The higher temperature creates a rapid sear, locking in moisture and producing a golden crust. If you’re using a smaller air fryer, reduce the temperature to 380°F and extend the cooking time by 2 minutes to compensate for the reduced heat distribution.
Why Your Nose Knows Best
Your sense of smell can be a powerful indicator of doneness. As the chips cook, you’ll notice a sweet, caramel aroma rising from the basket. When the scent becomes stronger and the edges start to brown, it’s time to check. If you’re unsure, give them a quick tap—if the chips feel slightly brittle, they’re ready. This sensory check saves you from overcooking or undercooking, ensuring perfect texture every time.
The 5-Minute Rest That Changes Everything
After baking, let the chips rest on a wire rack for at least five minutes. This step allows the residual heat to finish the crisping process and lets the steam escape, preventing sogginess. The rest period also helps the seasoning settle into the chips, enhancing flavor. Skipping this step often results in chips that feel wet or chewy—don’t let that happen.
Use a Paper Towel Trick for Dryness
If you’re storing the chips for later, place a folded paper towel in the container. The towel absorbs moisture, keeping the chips crisp. This simple trick can extend the shelf life of your chips by up to 48 hours. When you’re ready to enjoy them again, reheat them briefly in the air fryer to restore the original crunch.
Adjusting Oil for Texture
If you prefer a lighter chip, reduce the olive oil to 1 tablespoon. The chips will still crisp, but they’ll have a slightly drier mouthfeel. Conversely, adding an extra tablespoon of oil will give a richer, buttery flavor and a deeper golden color. Experiment with olive oil varieties—extra virgin for a robust taste or light olive oil for a milder profile.
Swap Out Salt for a Flavor Twist
For a low-sodium version, replace the kosher salt with a pinch of salt-free seasoning blend. The result is a chip that still has depth but is kinder to your kidneys. If you’re craving a smoky flavor, add a dash of liquid smoke to the oil before tossing the veggies. Liquid smoke is a quick and effective way to emulate a deep‑frying flavor without the extra calories.
Creative Twists and Variations
This recipe is a playground. Here are some of my favorite ways to switch things up:
Spicy Sriracha Boost
Add 1 teaspoon of sriracha to the oil before tossing the veggies. The heat will give the chips a fiery kick that pairs well with a cool yogurt dip. The sriracha also adds a subtle smoky undertone, enhancing the overall flavor profile.
Herbal Mediterranean Mix
Swap the black pepper with a blend of dried oregano, thyme, and rosemary. The herbs infuse the chips with a fragrant aroma and a savory depth that’s perfect for a Mediterranean-inspired snack. Pair with a feta and olive dip for a complete experience.
Sweet Cinnamon Dust
After baking, sprinkle the chips with a light dusting of cinnamon and a pinch of sugar. The sugar caramelizes slightly, creating a sweet, crunchy coating that’s reminiscent of a candy apple. This variation is a hit with kids and adults alike.
Umami Boost with Nutritional Yeast
Before baking, sprinkle 2 tablespoons of nutritional yeast over the seasoned chips. Nutritional yeast adds a savory, cheesy flavor that elevates the chips to a gourmet snack. It’s also a great source of B vitamins, making the chips even healthier.
Roasted Garlic Infusion
Add 1 minced clove of garlic to the oil before tossing the veggies. The garlic will roast and mellow, giving the chips a subtle, sweet garlic flavor. This variation is ideal for a comforting, savory snack.
Chili Lime Zest
After baking, toss the chips with a squeeze of fresh lime juice and a pinch of chili powder. The lime adds brightness, while the chili powder provides a gentle heat. This vibrant combo is perfect for a summer gathering.
Storing and Bringing It Back to Life
Fridge Storage
Store the chips in an airtight container at room temperature for up to 48 hours. Ensure the container is sealed and place a folded paper towel inside to absorb moisture. The chips will retain their crispness and can be enjoyed as a quick snack or paired with a dip.
Freezer Friendly
For longer storage, place the cooled chips in a freezer bag, removing as much air as possible. Freeze for up to 3 months. When ready to eat, thaw at room temperature or reheat in the air fryer at 350°F for 3–4 minutes. The chips will regain their crunch and taste like fresh.
Best Reheating Method
The best way to revive stale chips is to preheat the air fryer to 375°F and bake for 3–4 minutes, stirring halfway. If you prefer a quick fix, place them on a hot skillet for 1–2 minutes per side. Adding a tiny splash of water before reheating can help steam the chips back to perfection, preventing them from becoming brittle.