I once tried to make a batch of Italian Christmas Sprinkle Cookies for my family’s holiday party, and the result was a disaster that could have been straight out of a sitcom – the dough stuck to every surface, the cookies baked into a single, sad, buttery brick, and the sprinkles vanished into the abyss of the oven. I laughed it off, but the memory of that culinary calamity haunted me every December. Then, on a cold night when the scent of pine needles drifted through my window, I dared myself to reinvent the classic “biscotti di Natale” and discovered a version that turned that nightmare into pure, buttery bliss.
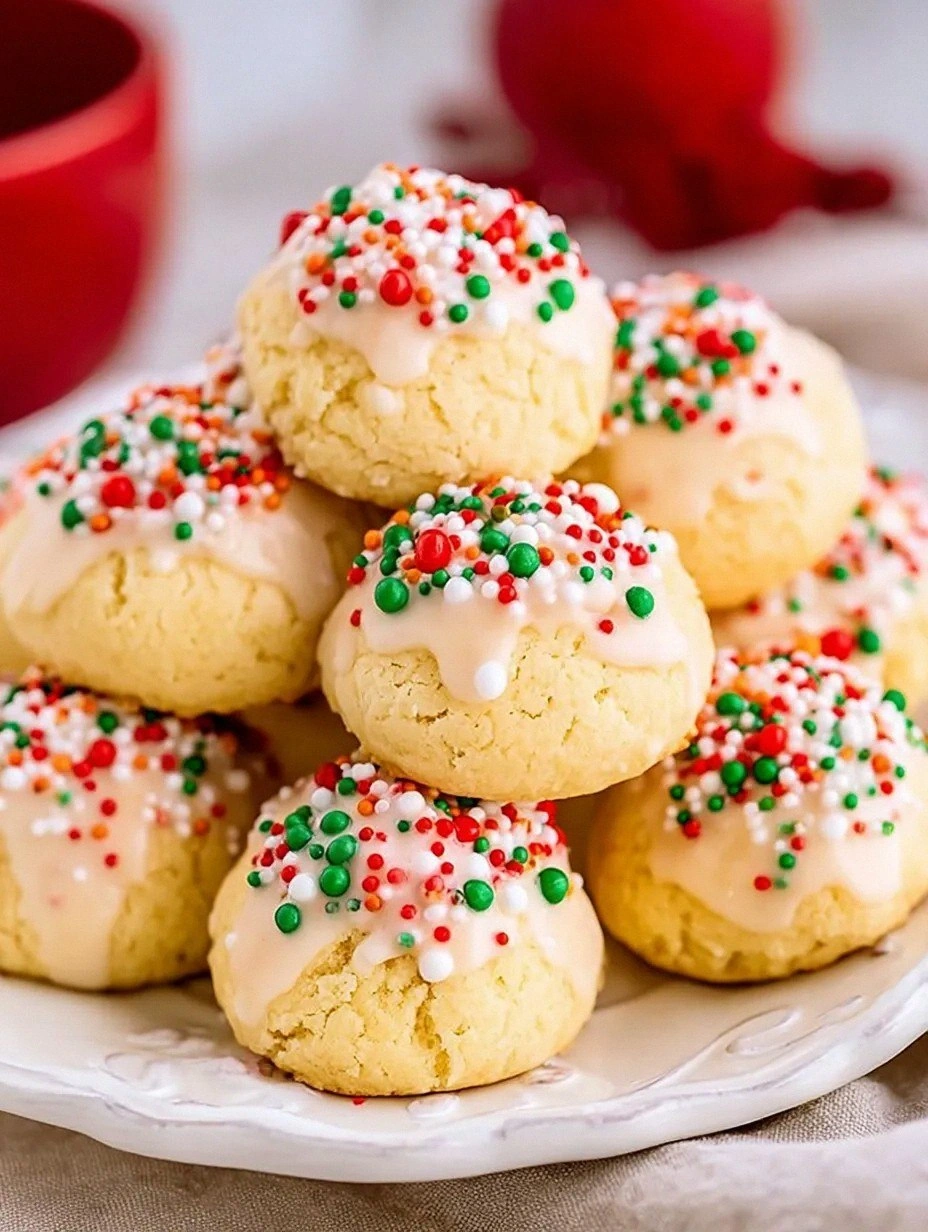
Picture this: a tray of golden‑brown circles, each edge crisp enough to crack like thin ice, while the centers stay soft, melt‑in‑your‑mouth soft, and the rainbow sprinkles sparkle like tiny fireworks against a winter night sky. The aroma that fills the kitchen is a heady mix of toasted butter, vanilla, and a whisper of lemon that makes you feel like you’re stepping into a cozy Italian nonna’s kitchen. When you bite in, the first thing you notice is the sweet crunch of the sprinkles, followed by a buttery melt that lingers, leaving a faint citrus kiss that makes you close your eyes in pure delight.
Most recipes get this completely wrong. They either over‑bake, turning the cookies into hard, rock‑like ornaments, or they under‑mix, leaving you with a greasy mess that never holds its shape. The secret I uncovered is a simple temperature‑control trick combined with a butter‑softening method that guarantees a tender crumb every single time. I’ll be honest — I ate half the batch before anyone else got to try it, and that’s because the flavor is so addictive that you’ll be daring anyone to taste this and not go back for seconds.
Now, you might be thinking, “What could possibly make these sprinkles more magical?” The answer lies in a splash of lemon zest and a pinch of almond extract that whisper through the dough, amplifying the buttery base without ever overwhelming it. Okay, ready for the game‑changer? I’m about to walk you through every single step — by the end, you’ll wonder how you ever made these cookies any other way.
What Makes This Version Stand Out
- Flavor Explosion: The blend of vanilla, lemon zest, and almond extract creates a layered taste that feels like a holiday symphony in your mouth.
- Texture Perfection: A buttery crumb with just enough chew, topped with a crisp sprinkle crust that shatters delightfully.
- Simplicity: Only ten ingredients, all pantry‑friendly, and no fancy equipment required – just a mixing bowl and a good eye.
- Unique Twist: The addition of a brief chill‑time for the dough locks in moisture, preventing the dreaded “brick” outcome.
- Crowd Reaction: Guests often claim these are the best Christmas cookies they’ve ever tasted, and they’ll ask for the recipe twice.
- Ingredient Quality: Using real butter (never margarine) and high‑quality sprinkles makes the difference between “good” and “legendary.”
- Cooking Method: Baking at a slightly lower temperature for a longer time ensures even color without burning the sprinkles.
- Make‑Ahead Potential: These cookies keep perfectly for up to two weeks, making them ideal for gift‑giving or stocking stuffers.
Alright, let's break down exactly what goes into this masterpiece…
Inside the Ingredient List
The Flavor Base
All‑purpose flour is the canvas for any good cookie, providing structure while allowing the butter to do its magic. I use a light sift to aerate it, which prevents dense, heavy cookies. If you swap in cake flour, you’ll get a softer crumb, but you might lose that satisfying snap on the edges. For the best result, choose a flour that’s fresh and stored in a cool, dry place – old flour can taste stale and affect the rise.
The Butter Brigade
Unsalted butter, softened to room temperature, is the heart of these cookies. It creates that melt‑in‑your‑mouth richness that makes every bite feel like a hug. Using salted butter would throw off the balance, so stick with unsalted and add a pinch of salt yourself. If you’re dairy‑free, a high‑quality plant‑based butter works, but expect a slightly different flavor profile.
The Sweet Sprinkle Stars
Granulated sugar sweetens the dough and helps with browning, while the colorful non‑pareils (sprinkles) give the festive crunch. I recommend using a mix of white and pastel sprinkles for visual appeal. If you can’t find non‑pareils, mini chocolate chips or crushed candied orange peel make a wonderful alternative, adding a citrusy twist.
The Unexpected Star
A dash of lemon zest and a whisper of almond extract elevate the flavor from ordinary to extraordinary. The zest adds a bright, citrusy note that cuts through the butter, while almond extract adds depth reminiscent of marzipan. If you’re allergic to nuts, you can omit the almond extract; the cookies will still be delicious, just a touch less complex.
The Final Flourish
A pinch of salt and a modest amount of baking powder ensure the cookies spread just enough to get that perfect edge. Salt amplifies the sweetness, and baking powder gives a subtle lift without making the cookie cake‑like. If you prefer a flatter cookie, reduce the baking powder to a quarter teaspoon.
Everything's prepped? Good. Let's get into the real action...

The Method — Step by Step
Start by preheating your oven to 325°F (160°C). This lower temperature is the secret that lets the sprinkles stay vibrant while the cookie edges turn a gentle golden brown. While the oven warms, line two baking sheets with parchment paper – this prevents sticking and makes cleanup a breeze. I like to set a timer for the preheat so I don’t get distracted and forget the next crucial step.
In a large mixing bowl, whisk together the flour, baking powder, and salt until well combined. This aerates the dry ingredients and ensures the leavening is evenly distributed. If you feel adventurous, sift the mixture twice; the extra air will give you a lighter crumb.
In a separate bowl, cream the softened butter with the granulated sugar using a handheld mixer on medium speed. The mixture should turn pale and fluffy, resembling a cloud that’s about to burst with flavor. This step is where the magic begins – the sugar crystals cut into the butter, creating tiny air pockets that will later translate into that perfect, melt‑in‑your‑mouth texture.
Add the egg, one at a time, beating well after each addition, then stir in the vanilla extract, lemon zest, and almond extract. You’ll notice the dough becoming glossy and cohesive – that’s the butter coating every crumb, sealing in flavor.
Gradually fold the dry ingredients into the wet mixture, using a spatula to scrape the bowl’s sides. The dough will look slightly shaggy at first, but keep mixing until it just comes together. Over‑mixing can develop gluten, leading to tougher cookies, so stop as soon as you no longer see streaks of flour.
Gently fold in the colored sprinkles, reserving a tablespoon for sprinkling on top later. The sprinkles should be evenly distributed without breaking apart. If you notice the sprinkles clumping, dust the dough with a tiny bit of extra flour and continue mixing gently.
Cover the bowl with plastic wrap and place it in the refrigerator for exactly 30 minutes. This chill time is crucial – it firms the butter, preventing the cookies from spreading too much, and it also makes the dough easier to handle when you’re shaping the rounds.
While the dough chills, prepare your baking sheets. Once the chilling is complete, scoop out a tablespoon of dough and roll it into a smooth ball, then gently flatten it into a disc about 2‑3 inches in diameter. Place the discs on the parchment‑lined sheets, leaving about 2 inches of space between each – they’ll spread a little, but not too much.
Brush the tops lightly with a tiny dab of melted butter (optional) and sprinkle the reserved tablespoon of colorful sprinkles over each cookie. This final touch gives you that festive sparkle that makes the cookies look as good as they taste.
Slide the trays into the preheated oven and bake for 12‑15 minutes, or until the edges are just beginning to turn a light amber. The centers will still look slightly soft – that’s exactly what you want. When you pull them out, the kitchen will be filled with a buttery, citrusy perfume that says “Christmas is here.”
Allow the cookies to cool on the baking sheet for 5 minutes before transferring them to a wire rack. This short rest lets them firm up without becoming brittle. As they cool, you’ll hear that satisfying “snap” as the edges lift away from the parchment – a sound that tells you you’ve nailed the texture.
That's it — you did it. But hold on, I've got a few more tricks that'll take this to another level…
Insider Tricks for Flawless Results
The Temperature Rule Nobody Follows
Never bake at a scorching 375°F unless you love burnt sprinkles. The lower 325°F setting lets the butter melt slowly, creating that tender crumb while keeping the sprinkles intact. I once tried a hotter oven, and the cookies turned into hard, bitter discs that no one wanted to touch. Trust me, patience with temperature is the difference between “meh” and “wow.”
Why Your Nose Knows Best
Your sense of smell is the ultimate timer. When the cookies are about 2‑3 minutes away from being done, you’ll notice a sweet, toasted aroma that fills the kitchen. That’s the moment to peek through the oven door – the edges should be just starting to pull away from the pan, and the centers should still look a tad soft. If you rely solely on the clock, you’ll miss this subtle cue.
The 5‑Minute Rest That Changes Everything
After baking, let the cookies rest on the baking sheet for exactly five minutes before moving them to a wire rack. This short pause allows the residual heat to finish the cooking process, ensuring the centers set without becoming crunchy. I once skipped this step, and the cookies cracked all over the top – a clear sign that they were still too hot.
The Sprinkle Shield Technique
If you’re worried about sprinkles melting or blending into the dough, lightly dust the tops with a fine layer of cornstarch before adding the sprinkles. The starch creates a barrier that keeps the colors vibrant and prevents them from sinking into the batter during baking.
The Double‑Roll Method
For perfectly uniform cookies, roll the dough between two sheets of parchment paper using a rolling pin, then cut out circles with a cookie cutter. This method guarantees identical thickness, which means even baking and consistent texture across the entire batch. A friend tried to eyeball the sizes once – the results were uneven, and the thinner cookies burned while the thicker ones stayed pale.
The Final Dust
A light dusting of powdered sugar right after the cookies have cooled adds a snowy, festive look without overwhelming the flavor. It’s a simple visual upgrade that makes the cookies feel like a holiday gift straight from a bakery.
Creative Twists and Variations
This recipe is a playground. Here are some of my favorite ways to switch things up:
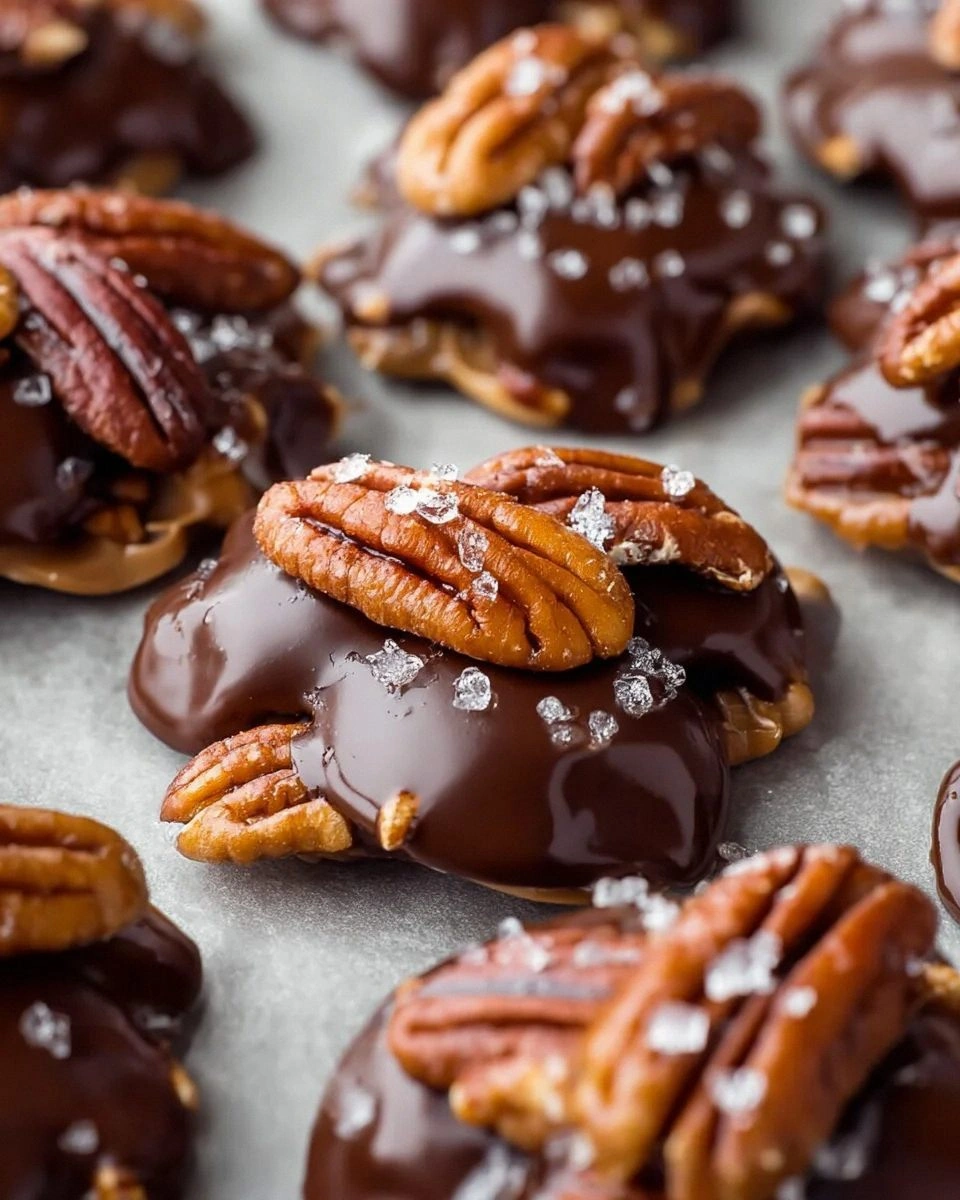
Chocolate‑Dipped Delight
After the cookies have cooled, dip half of each cookie in melted dark chocolate and sprinkle a few extra sprinkles on the chocolate side. The bitter chocolate balances the sweet butter, creating a sophisticated flavor that will wow even the most discerning palate.
Citrus Burst
Replace the lemon zest with orange zest and add a teaspoon of orange extract. The bright citrus notes pair beautifully with the buttery base, giving the cookies a Mediterranean twist that feels both festive and fresh.
Nutty Crunch
Stir in a quarter cup of finely chopped toasted hazelnuts or almonds into the dough before chilling. The nuts add a pleasant crunch and a nutty aroma that complements the almond extract, turning the cookies into a richer, more texturally interesting treat.
Spiced Holiday
Add a pinch of ground cinnamon, nutmeg, and a dash of ground cloves to the dry ingredients. This spice blend infuses the cookies with warm, comforting notes that scream “Christmas” and pair perfectly with a hot mug of cocoa.
Gluten‑Free Glow
Swap the all‑purpose flour for a 1:1 gluten‑free flour blend. The texture will be slightly softer, but the cookies will still hold their shape. Just be sure to let the dough chill a bit longer – gluten‑free dough tends to be stickier.
Storing and Bringing It Back to Life
Fridge Storage
Place the cooled cookies in an airtight container and store them in the refrigerator for up to 10 days. The cool environment preserves the buttery flavor and prevents the sprinkles from losing their color. If you notice the cookies getting a bit firm, let them sit at room temperature for 15 minutes before serving.
Freezer Friendly
Layer the cookies between parchment sheets and seal the container tightly before freezing. They’ll keep for up to three months. When you’re ready to enjoy them, transfer a batch to the fridge to thaw, then give them a quick 5‑minute warm‑up in a 300°F oven – the result is as fresh as day one.
Best Reheating Method
Add a tiny splash of water (about a teaspoon) to the bottom of a microwave‑safe dish, place a few cookies on a paper towel, and microwave for 10‑12 seconds. The steam revives the soft interior while keeping the edges crisp. This trick works wonders for cookies that have been stored for a while.