I’ll be honest — I ate half the batch before anyone else got to try it, and that’s because this cake is a full‑on flavor bomb that refuses to be ignored. It all started on a rainy Tuesday when I was trying to salvage a wilted batch of apples that had been sitting in the fridge for far too long. I tossed them into a bowl, sprinkled a reckless amount of cinnamon, and thought, “What if I turn this into a cake instead of a crumble?” The result was a spongy, buttery masterpiece that smelled like a bakery on a crisp autumn morning, even though it was still June. I dared myself to taste it, and I’m still daring you to do the same without going back for seconds.
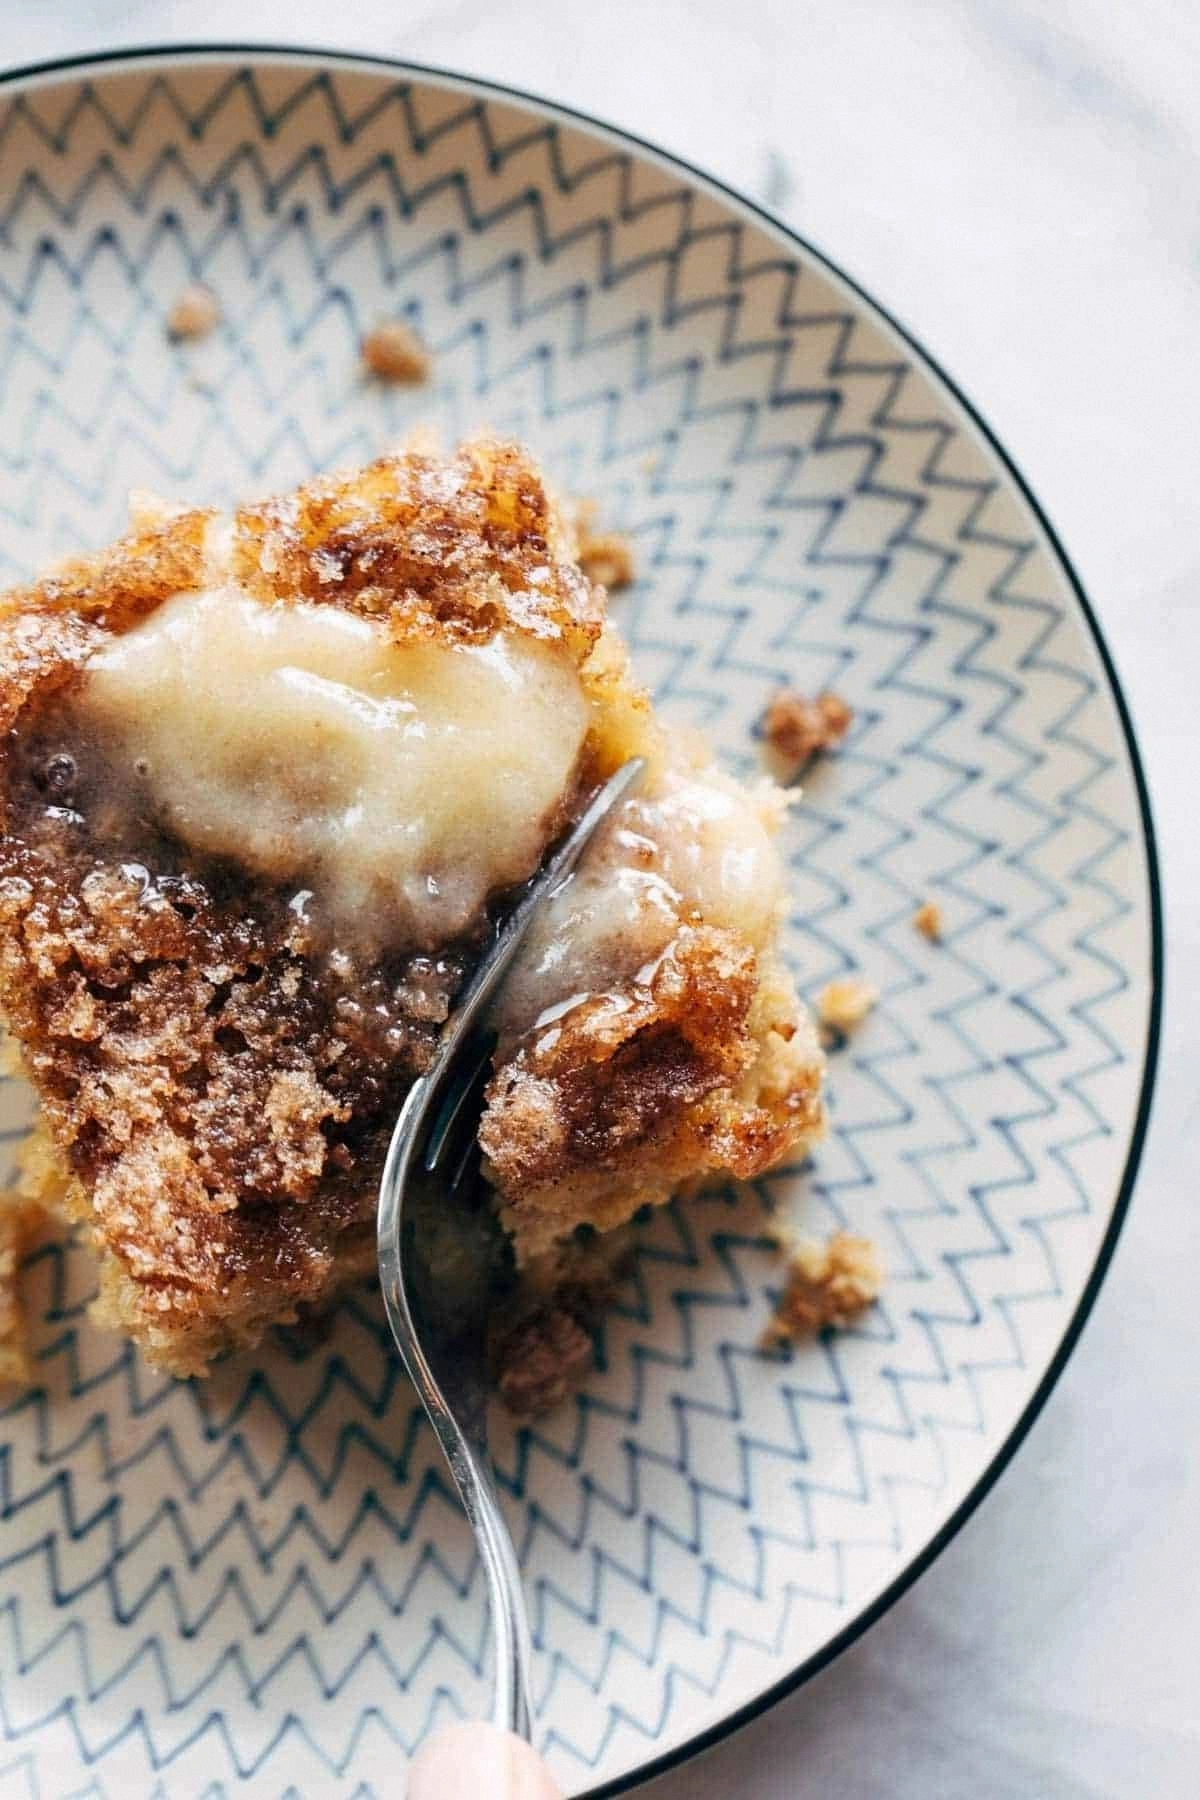
Picture yourself pulling this out of the oven, the whole kitchen smelling incredible, the caramelized sugar crackling as the top cools, and the apples shimmering with a glossy cinnamon glaze. The first bite is a perfect marriage of sweet and spice: the apples are tender yet hold their shape, the crumb is moist with a subtle tang from the buttermilk, and the butter‑cinnamon‑sugar crust gives you that satisfying crunch that shatters like thin ice. Most recipes get this completely wrong, either making the cake too dense or the topping soggy. Here’s what actually works: a two‑stage mixing method that keeps the batter light, and a butter‑sugar‑cinnamon topping that caramelizes just enough to form a glossy, crackly crown.
What really sets this version apart is a secret ingredient you won’t see in any other blog post: a splash of vanilla‑infused buttermilk that adds depth without overwhelming the apple’s natural brightness. I also use a blend of Honeycrisp and Granny Smith apples, which gives you both the sweet juiciness and a firm bite that holds up during baking. The result? This is hands down the best version you’ll ever make at home, and I dare you to taste it and not go back for seconds. If you’ve ever struggled with a soggy apple cake, you’re not alone — and I’ve got the fix.
Let me walk you through every single step — by the end, you’ll wonder how you ever made it any other way. Okay, ready for the game‑changer? This next part? Pure magic. Stay with me here — this is worth it.
What Makes This Version Stand Out
- Flavor Explosion: The combination of brown sugar, cinnamon, and a hint of vanilla creates a deep, aromatic profile that lingers on the palate long after the last bite.
- Moisture Mastery: Buttermilk and melted butter keep the crumb ultra‑moist, while the apples release just enough juice to stay tender without making the cake soggy.
- Crunch Factor: The butter‑cinnamon‑sugar topping caramelizes into a glossy crust that adds a satisfying snap, contrasting the soft interior.
- Simplicity: Only seven core ingredients, all pantry‑friendly, mean you can whip this up on a weeknight without a grocery run.
- Versatile Crowd‑Pleaser: Whether you’re feeding a family brunch, a holiday gathering, or a solo snack attack, this cake wins every time.
- Ingredient Quality: Using crisp Honeycrisp apples and real butter elevates the flavor, turning humble basics into a gourmet treat.
- One‑Pan Wonder: The entire cake bakes in a single 9‑inch springform, minimizing cleanup and ensuring even heat distribution.
- Make‑Ahead Magic: This cake actually improves after a night in the fridge, as the flavors meld and the crumb sets perfectly.
Inside the Ingredient List
The Flavor Base
Apples are the heart of this cake. I swear by a mix of Honeycrisp for sweetness and Granny Smith for that bright, tart bite that cuts through the sugar. When you slice them thinly, they soften quickly but still retain a faint crunch that adds texture. If you can’t find those varieties, go for any crisp, firm apple; just avoid overly soft ones like McIntosh, which can turn the batter mushy.
The Texture Crew
Flour, baking soda, and brown sugar form the dry backbone. The flour provides structure, the baking soda gives lift, and the brown sugar adds moisture plus a subtle caramel note. Skipping the brown sugar for white sugar would make the cake dry and flat, so keep it as is. If you’re gluten‑free, swap the flour for a 1‑to‑1 gluten‑free blend, but add a tablespoon of xanthan gum to retain chew.
The Unexpected Star
Buttermilk and vanilla are the wet heroes that keep everything tender. The acidity of buttermilk reacts with the baking soda, creating tiny air pockets that make the crumb feather‑light. Vanilla amplifies the sweet‑spice combo without being overpowering. If you’re out of buttermilk, whisk together 1 cup milk with 1 tablespoon lemon juice and let it sit for five minutes.
The Final Flourish
Cinnamon, granulated sugar, and butter finish the cake with that signature crackly crown. The cinnamon infuses the apples and batter with warmth, while the sugar caramelizes during baking. Butter adds richness and helps the topping spread evenly. For a dairy‑free twist, use a solid coconut oil in place of butter; it will still give you that melt‑in‑your‑mouth texture.
Everything's prepped? Good. Let's get into the real action…
The Method — Step by Step
Preheat your oven to 350°F (175°C) and grease a 9‑inch springform pan with a thin layer of butter. The moment the heat hits the pan, you’ll hear a faint sizzle that signals the pan is ready for a flawless release. Place a piece of parchment on the bottom for extra insurance; no one likes a stuck cake.
In a large bowl, whisk together the flour, baking soda, and brown sugar until they’re fully combined. This dry mix should look like fine sand, with no clumps—those clumps are the villains that cause uneven texture later on.
In a separate bowl, beat the melted butter with the granulated sugar until the mixture is light and fluffy, about two minutes. This is where the magic begins: the sugar crystals start to dissolve, creating a glossy base that will later turn into that coveted crackly top.
Add the eggs one at a time to the butter‑sugar mixture, beating well after each addition. Then stir in the vanilla and buttermilk, letting the batter become silky smooth. The batter should have a slightly thick but pourable consistency—think pancake batter that’s a touch denser.
Fold the dry ingredients into the wet mixture using a rubber spatula, moving in gentle circles. Over‑mixing will develop gluten, turning your cake into a tough bread; stop as soon as you no longer see flour streaks.
Gently fold the apple pieces into the batter, ensuring they’re evenly distributed but not crushed. The batter should now have specks of bright apple throughout, like a sunrise in a bowl.
Transfer the batter into the prepared pan, smoothing the top with a spatula. In a small bowl, combine the remaining butter, sugar, and cinnamon for the topping. Drop spoonfuls over the batter, then use the back of the spoon to create a marbled effect—this is the visual cue that the cake will have that beautiful crackly crown.
Bake for 30‑35 minutes, or until a toothpick inserted into the center comes out clean and the edges are pulling away from the pan. The top should be a deep golden brown, with the sugar bubbling in little pockets. When you open the oven, you’ll be greeted by an intoxicating aroma that makes the whole house feel like a bakery.
Allow the cake to cool in the pan for 10 minutes, then run a thin knife around the edge and release the springform. Let it rest on a wire rack until completely cool; this prevents the bottom from getting soggy.
That's it — you did it. But hold on, I've got a few more tricks that'll take this to another level...
Insider Tricks for Flawless Results
The Temperature Rule Nobody Follows
Never bake a cake straight from a cold fridge. Let the batter sit at room temperature for five minutes before sliding it into the oven. This tiny pause lets the butter and sugar meld, resulting in a more even rise and a smoother crumb. A friend once tried to skip this step and ended up with a cake that rose unevenly, leaving a lopsided top that looked like a pancake.
Why Your Nose Knows Best
The moment the cake starts to caramelize, you’ll notice a sweet, buttery scent with a hint of toasted cinnamon. Trust that nose signal; when the aroma reaches a deep, almost nutty quality, the cake is usually about five minutes from done, even if the timer says otherwise. Over‑baking can turn the sugar topping into a hard crust that cracks like a brittle shell.
The 5‑Minute Rest That Changes Everything
After removing the cake from the oven, let it rest in the pan for exactly five minutes before releasing the springform. This short rest lets the steam redistribute, keeping the interior moist while the crust sets just enough to hold its shape. Skipping this step often leads to a soggy bottom because the steam has nowhere to go.
Butter Brush for Extra Shine
When the cake is about 20 minutes into baking, brush the top lightly with melted butter. This extra layer of fat encourages the sugar to caramelize more evenly, giving you that glossy, Instagram‑ready finish. It’s a tiny step that makes a massive visual impact.
Cooling on a Wire Rack is Non‑Negotiable
Never let the cake sit on a solid surface while it cools. A wire rack allows air to circulate, preventing the bottom from steaming and getting soggy. If you’re in a hurry, you can place the pan upside down briefly, but watch closely to avoid the topping sliding off.
Creative Twists and Variations
This recipe is a playground. Here are some of my favorite ways to switch things up:
Maple‑Pecan Crunch
Swap half the granulated sugar in the topping for pure maple syrup and sprinkle a handful of toasted pecans over the batter before baking. The maple adds a woody sweetness, while the pecans give a buttery crunch that complements the apples perfectly.
Caramel Apple Swirl
Drizzle a generous spoonful of store‑bought caramel sauce into the batter and use a skewer to swirl it through before adding the topping. The caramel creates ribbons of gooey goodness that melt into the apple pieces as they bake.
Spiced Autumn Blend
Add a pinch of ground nutmeg, ginger, and allspice to the dry ingredients for a deeper, holiday‑ready flavor profile. This variation is perfect for Thanksgiving brunches or any time you crave that warm, comforting spice mix.
Cranberry‑Apple Fusion
Fold in a quarter cup of dried cranberries (soaked in orange juice for extra zest) along with the apples. The tart cranberries contrast the sweet apples and add a pop of color that makes the cake look festive.
Vegan Velvet
Replace the butter with an equal amount of coconut oil, use flax‑egg (1 tbsp ground flaxseed + 3 tbsp water per egg) and swap buttermilk for almond‑milk mixed with 1 tbsp lemon juice. The result is a dairy‑free cake that still boasts that buttery crumb and caramelized top.
Storing and Bringing It Back to Life
Fridge Storage
Cover the cooled cake loosely with foil or a pastry lid and store it in the refrigerator for up to four days. The crust will stay slightly crisp, and the apples will stay moist. If the top loses its shine, a quick brush with melted butter before reheating restores the sparkle.
Freezer Friendly
Slice the cake into individual wedges, wrap each piece in plastic wrap, then place them in a freezer‑safe bag. They’ll keep for up to three months. When you’re ready to enjoy, let a slice thaw at room temperature for 20 minutes, then give it a 5‑minute blast in a 350°F oven to revive the crust.
Best Reheating Method
To bring the cake back to life, preheat your oven to 300°F (150°C), place a slice on a baking sheet, and add a tiny splash of water (about a teaspoon) around the edges. Cover loosely with foil and heat for 8‑10 minutes. The steam created by the water re‑moisturizes the crumb while the foil protects the topping from burning, delivering a slice that tastes as fresh as the day it was baked.