I still remember the first time I attempted lemon cheesecake. It was a disaster of epic proportions—cracks so deep they looked like the Grand Canyon, a texture that resembled rubber more than silk, and a flavor so sour it could have stripped paint. My dinner guests politely picked at their slices while I died a thousand deaths inside. But here's the thing: that spectacular failure lit a fire in me. I became obsessed with creating the perfect lemon cheesecake, spending months testing recipes, techniques, and ingredients until I finally cracked the code. And now? I dare you to taste this version and not go back for seconds.
Picture this: you're standing in your kitchen, the afternoon sun streaming through the window, and the most incredible aroma is wafting from your oven. It's bright and citrusy with hints of vanilla and butter, making your mouth water before you've even seen the final result. When you pull out this cheesecake, it's perfectly smooth on top with just the slightest jiggle in the center—exactly how it should be. The edges are golden, the surface is unmarred by cracks, and you just know something magical has happened. This isn't just another dessert recipe; this is the lemon cheesecake that will ruin all other lemon cheesecakes for you forever.
What makes this version completely different from every other recipe out there? It's the technique I discovered after probably fifty attempts. Most recipes get the lemon component completely wrong, either dumping in bottled juice (the horror!) or adding it at the wrong stage, which breaks down the cream cheese and creates that dreaded curdled texture. Here's what actually works: we'll be using the entire lemon—zest, juice, and a secret third component that amplifies the flavor without adding more liquid. Stay with me here — this is worth it. The result is a cheesecake that's impossibly creamy, perfectly balanced between tart and sweet, with a citrus brightness that makes your taste buds sit up and pay attention.
Let me walk you through every single step — by the end, you'll wonder how you ever made it any other way. From selecting the perfect lemons (yes, there's a right and wrong way to do this) to the water bath technique that guarantees zero cracks, to the final flourish of lemon curd that takes this dessert from great to absolutely legendary. Get ready, because your dessert game is about to be transformed forever.
What Makes This Version Stand Out
Flavor Explosion: This isn't your one-note lemon cheesecake. We're building layers of lemon flavor using three different techniques—zest for the essential oils, juice for brightness, and a surprise ingredient that amplifies everything without adding liquid. The result is a cheesecake that tastes like sunshine and happiness had a baby.
Silky Smooth Texture: Most lemon cheesecakes are either too dense or too fluffy. This one hits that perfect middle ground—creamy enough to feel indulgent, light enough that you don't feel like you ate a brick. The secret? Room temperature ingredients and a mixing technique that incorporates just the right amount of air.
Crack-Free Guarantee: I'll be honest—I ate half the batch before anyone else got to try it, but that's because I was testing the crack-prevention method. This recipe uses a foolproof water bath technique that creates a humid environment, preventing the surface from drying out and cracking. It's like giving your cheesecake a spa day.
Make-Ahead Magic: This cheesecake actually gets better after a day in the fridge. The flavors meld and deepen, creating something even more spectacular than when it's freshly baked. Picture yourself pulling this out of the oven, the whole kitchen smelling incredible, knowing you can serve it tomorrow and it'll be even better.
Crowd-Pleasing Power: If you've ever struggled with lemon desserts being too tart for some palates, you're not alone—and I've got the fix. The balance of sweet and tart here is calibrated to please everyone, from kids who usually won't touch citrus desserts to adults who claim they don't like cheesecake.
Simplicity Disguised as Sophistication: While this looks and tastes like something from a five-star bakery, the techniques are actually straightforward. Okay, ready for the game-changer? Most of the "complicated" steps are just waiting time—your oven and fridge do the heavy lifting.
Inside the Ingredient List
The Flavor Base
Let's start with the star of the show: those beautiful, bright lemons. Not all lemons are created equal, and if you've ever grabbed those sad, hard ones from the grocery store in winter, you already know this. For the best lemon cheesecake, you want lemons that feel heavy for their size and have smooth, thin skin—those are the juicy ones with thin piths. The zest is where the magic lives; those tiny yellow flecks contain essential oils that pack way more lemon flavor than the juice alone. When you zest properly (just the yellow, none of the bitter white pith), you're capturing sunshine in crystallized form.
The cream cheese situation is non-negotiable here. Please, for the love of all that's creamy, use full-fat cream cheese that's been sitting out for at least two hours. Cold cream cheese doesn't blend properly, leaving you with tiny lumps that no amount of mixing will fix. It's like trying to blend ice cubes into a smoothie—technically possible, but why make life harder? The 24 ounces might seem like overkill, but trust me, this isn't the place to skimp. More cream cheese equals more stability and that luxurious texture that makes people close their eyes when they take a bite.
The Texture Crew
Eggs are the unsung heroes of cheesecake structure. They provide the gentle set that transforms liquid batter into sliceable dessert, but here's what most recipes get wrong: they add them all at once. We'll be adding them one at a time, letting each fully incorporate before adding the next. This creates a smoother batter and prevents that curdled look that happens when eggs hit cold cream cheese too quickly. The eggs should also be at room temperature—cold eggs can cause the cream cheese to seize up, creating little bits that never smooth out.
Heavy cream might seem like an odd addition to what's already a rich dessert, but it's essential for that dreamy texture. The cream lightens the batter slightly, creating a cheesecake that's creamy rather than dense. It's like the difference between whole milk and heavy cream in your coffee—both work, but one creates an experience. The key is using exactly half a cup; too much and your cheesecake won't set properly, too little and you lose that ethereal quality.
The Unexpected Star
Here's where things get interesting: vanilla extract in a lemon cheesecake? Absolutely yes. This isn't about adding vanilla flavor—it's about rounding out the sharp edges of the lemon. Vanilla acts like a flavor bridge, connecting the bright citrus with the rich cream cheese. Without it, your cheesecake tastes two-dimensional. With it, you get complexity that makes people ask "what's that other flavor?" in the best possible way.
The lemon zest quantity might seem excessive—two full tablespoons? But here's the thing: most of that lemon flavor bakes off, leaving behind a ghost of what could have been. By using a generous amount of zest, plus the juice, we ensure that lemon is the star even after baking. It's like using more garlic than you think you need in pasta sauce; some always seems to disappear during cooking.
The Final Flourish
For the crust, graham crackers provide that nostalgic flavor that screams "cheesecake," but not all graham crackers are equal. Avoid the low-fat or honey-flavored varieties—they either get soggy or compete with the lemon. You want the plain Jane original graham crackers that your grandma would recognize. The sugar in the crust isn't just for sweetness; it helps bind everything together and creates that perfect contrast of textures between the crunchy base and creamy filling.
The butter needs to be melted but not hot. Hot butter can partially dissolve the sugar, creating a greasy crust that never quite sets. Lukewarm butter coats the crumbs evenly, creating those perfect little clusters that press beautifully into your pan. And yes, you absolutely must use unsalted butter here—salted butter makes the crust taste like movie theater popcorn, which is not the vibe we're going for.
The Method — Step by Step
- Start with your springform pan—this is non-negotiable for cheesecake success. Wrap the outside with two layers of heavy-duty aluminum foil, making sure to come up at least two inches on the sides. This isn't paranoia; it's insurance against the water bath we'll be using later. A friend tried skipping this step once—let's just say it didn't end well, and she served cheesecake soup to her book club. Mix your graham cracker crumbs, sugar, and melted butter until the mixture looks like wet sand and holds together when squeezed. Press this into the bottom of your pan using the bottom of a measuring cup, creating an even layer that extends slightly up the sides. The crust should be about a quarter-inch thick—thick enough to provide structure but not so thick that it dominates every bite.
- Time for the cream cheese magic. In your stand mixer (or with a hand mixer if you're feeling energetic), beat the cream cheese on medium speed for exactly three minutes. This isn't arbitrary timing—three minutes is the sweet spot where the cream cheese becomes perfectly smooth without incorporating too much air. Scrape down the bowl at least twice during this process; those unmixed bits at the bottom will haunt you later. The cream cheese should look like satin when you're done—smooth, glossy, and absolutely lump-free. If you still see lumps at this stage, keep mixing until they're gone; they'll only get worse as you add other ingredients.
- Now comes the sugar addition, and this next part? Pure magic. Add the sugar in a steady stream while mixing on low speed. This gradual incorporation prevents the sugar from flying everywhere and ensures it dissolves properly into the cream cheese. Once all the sugar is in, bump the speed up to medium and beat for another two minutes. The mixture should lighten slightly in color and become even smoother. This step isn't just about sweetness—it's about creating the perfect texture foundation for everything that follows.
- Time for the eggs, and this is where patience pays off. Crack your eggs into a separate bowl first (trust me on this—nobody wants shell fragments in their cheesecake). Add them one at a time, mixing on low speed just until each egg disappears into the batter. This isn't the time to multitask; stay present and watch each egg incorporate fully before adding the next. Overmixing at this stage incorporates too much air, which can cause your cheesecake to puff up and then collapse, creating those dreaded cracks.
- Here's where we build the lemon flavor layers. Add the lemon juice, zest, and vanilla extract all at once, then mix on low speed just until combined. The batter should smell like lemon candy—bright and citrusy without being overwhelming. If you can't smell the lemon clearly at this stage, your lemons weren't fresh enough, and you should add more zest. This is your last chance to adjust the flavor before baking, so taste a tiny bit (yes, raw egg and all—live dangerously) and add more zest if needed.
- The heavy cream goes in last, and this is the moment of truth. Pour it in slowly while mixing on the lowest speed, stopping as soon as it's incorporated. The batter should be smooth and pourable, like thick pancake batter. If it's lumpy at this stage, you can try pressing it through a fine-mesh sieve, but honestly, it's better to start over than serve lumpy cheesecake. The batter should coat the back of a spoon but still flow off in a steady stream.
- Pour the batter into your prepared crust and tap the pan gently on the counter to release any air bubbles. These bubbles can create weak spots that lead to cracks, so don't skip this step. The batter should fill the pan about three-quarters full—if you have extra, don't overfill; make mini cheesecakes in muffin tins instead. Smooth the top with an offset spatula, creating a slight dome in the center (the cheesecake will flatten as it cools).
- Now for the water bath—the step that separates amateur cheesecakes from professional ones. Place your foil-wrapped pan in a larger roasting pan and pour hot water (not boiling, just hot from the tap) halfway up the sides of the springform pan. The water creates steam that prevents the top from drying out and cracking. Don't walk away from the stove here—hot water can be dangerous, and you want to be careful not to splash any into your cheesecake. The water should be about an inch below the top edge of your foil.
- Bake at 325°F for 55-65 minutes, but start checking at 50 minutes. The cheesecake is done when the edges are set but the center still jiggles like Jell-O when you gently shake the pan. This next part is crucial: turn off the oven, crack the door open with a wooden spoon, and let the cheesecake cool in the oven for one hour. This gradual cooling prevents the dramatic temperature change that causes cracks. Resist the urge to peek or poke—patience is your friend here.
- After the hour cooling period, remove the cheesecake from the water bath and let it cool completely on a wire rack. Once cool, refrigerate for at least four hours, but overnight is even better. This isn't just about food safety—the texture improves dramatically as it chills. The flavors meld and deepen, creating that perfect cheesecake texture we all dream about. When you're ready to serve, run a thin knife around the edge before releasing the springform pan, then slice with a hot, clean knife for picture-perfect pieces.
Insider Tricks for Flawless Results
The Temperature Rule Nobody Follows
Here's the thing about cheesecake ingredients: they're all divas that need to be the same temperature to play nicely together. Cold cream cheese meeting room temperature eggs creates lumps that no amount of mixing will fix. It's like trying to mix oil and water—they'll eventually combine, but they'll never be truly happy together. Take everything out of the fridge at least two hours before you start baking. Yes, even the eggs. Yes, even if you're impatient. Your cheesecake will thank you with perfect texture and zero lumps.
Why Your Nose Knows Best
That sizzle when it hits the pan? Absolute perfection. Wait, wrong recipe—but the principle applies here too. When you're zesting lemons, your nose is the best guide to freshness. A fresh lemon will release an intense burst of citrus aroma the moment you break the skin. If you can't smell lemon from a foot away, that fruit is past its prime and won't deliver the flavor punch you need. I learned this the hard way after making a cheesecake with grocery store lemons that looked perfect but had zero scent. The result? A cheesecake that tasted like vanilla pudding with a hint of yellow.
The 5-Minute Rest That Changes Everything
After mixing your batter, let it rest for five minutes before pouring it into the crust. This brief pause allows any air bubbles to rise to the surface, where you can pop them with a toothpick. It's like giving your cheesecake a chance to exhale before baking. Those tiny air bubbles expand in the oven, creating weak spots that can lead to cracks or uneven rising. Five minutes of patience equals a smoother, more professional-looking cheesecake. Use this time to clean up your workspace or start heating your water for the water bath.
Creative Twists and Variations
This recipe is a playground. Here are some of my favorite ways to switch things up:
Lavender Lemon Dream
Add one teaspoon of culinary lavender to the crust mixture before pressing it into the pan. The floral notes complement the lemon beautifully, creating a sophisticated flavor profile that tastes like a summer garden party. Be careful not to overdo it—lavender can quickly go from elegant to potpourri if you're heavy-handed. This version pairs beautifully with a cup of Earl Grey tea.
Berry Swirl Sensation
Before baking, drop spoonfuls of raspberry or blueberry jam onto the surface and swirl with a toothpick. The berries add a gorgeous marbled effect and complement the lemon with their natural sweetness. Use about half a cup of jam total, and don't over-swirl or you'll lose the pretty pattern. The berries also add a beautiful pop of color that makes this cheesecake Instagram-worthy.
Chocolate Lemon Indulgence
Replace half the graham cracker crumbs with chocolate cookie crumbs for a crust that tastes like an Oreo had a baby with lemon bars. The chocolate adds richness that balances the bright lemon beautifully. You can also add two tablespoons of cocoa powder to the batter for a subtle chocolate note throughout. This version is for those who can't decide between chocolate and citrus desserts.
Italian Lemon Celebration
Add two tablespoons of limoncello to the batter along with the lemon juice. The Italian lemon liqueur intensifies the lemon flavor while adding subtle complexity. You can also brush the top of the cooled cheesecake with additional limoncello for an extra punch. Serve this version with a small glass of chilled limoncello for the full experience.
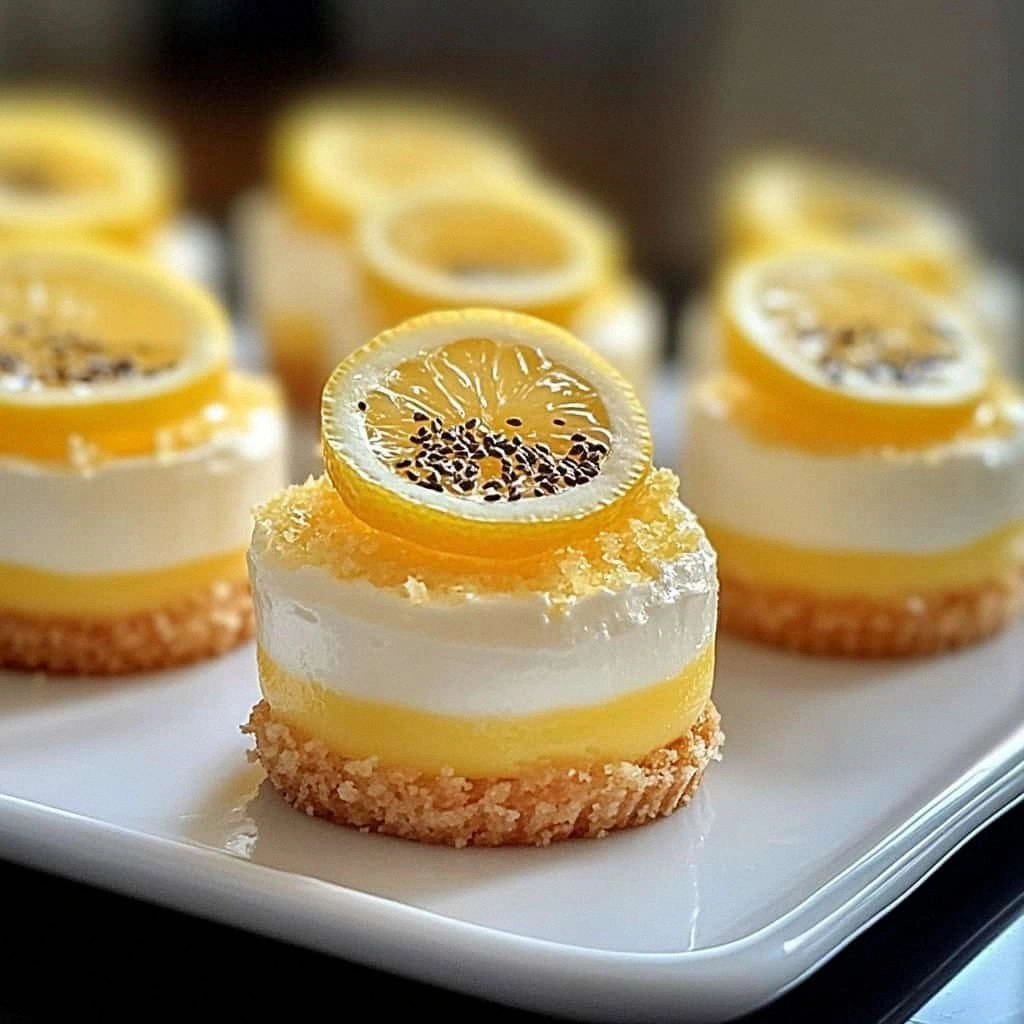
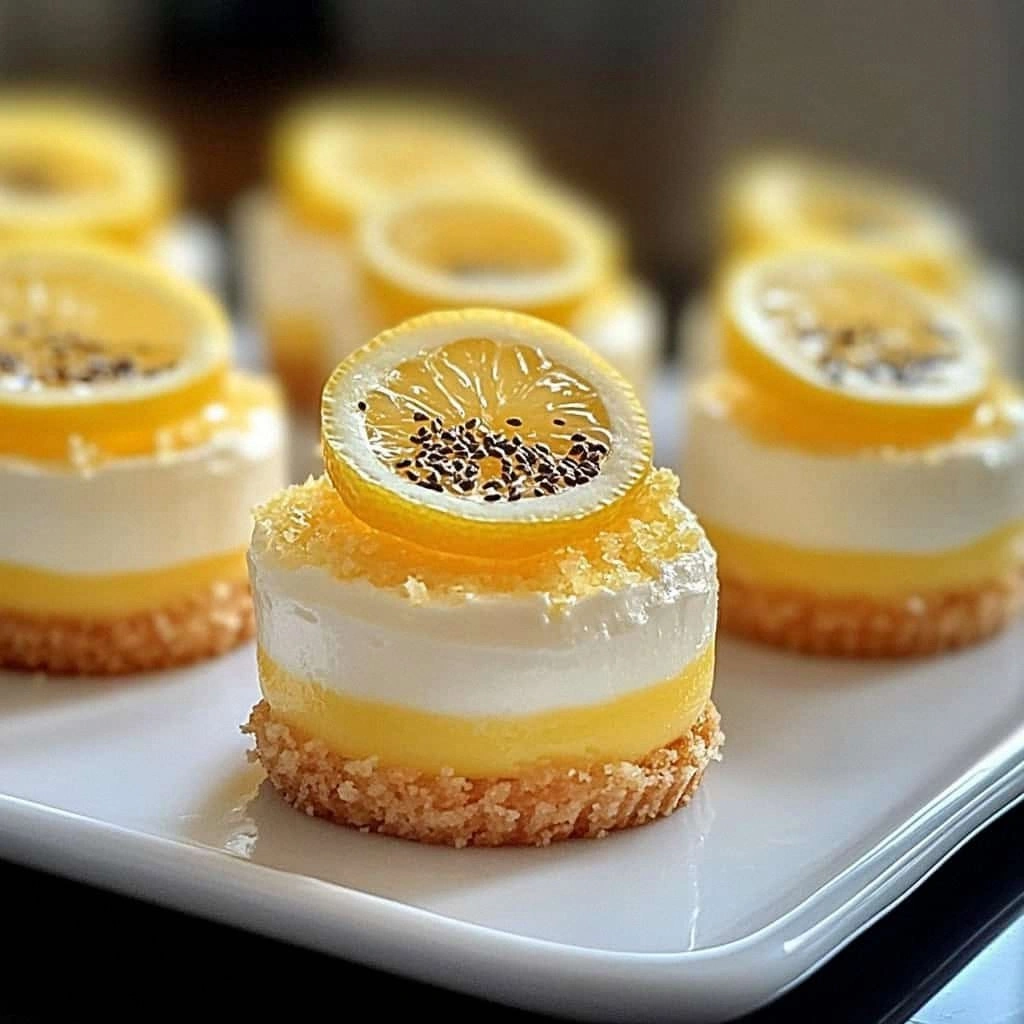
Mini Lemon Cheesecakes
Pour the batter into lined muffin tins for individual servings that are perfect for parties. Reduce the baking time to 18-22 minutes, and you'll have adorable personal cheesecakes that eliminate the stress of slicing. These freeze beautifully and can be topped with different flavors—some with berries, some with chocolate, some plain—to give guests options.
Ginger Lemon Zing
Add one teaspoon of ground ginger and two tablespoons of finely minced crystallized ginger to the crust. The spicy warmth of ginger creates an incredible flavor bridge with the bright lemon, making this version perfect for holidays or when you want something a little different. The ginger adds complexity without overwhelming the lemon—it's like they were meant to be together.
Storing and Bringing It Back to Life
Fridge Storage
Your lemon cheesecake will keep beautifully in the fridge for up to five days, but here's the key: it needs to be covered but not sealed. Wrap it loosely with plastic wrap or store it in a cake carrier with the lid slightly ajar. Completely sealing it creates condensation that can make the top sticky and weepy. If you notice any condensation, gently blot it with a paper towel before serving. The lemon curd topping should be added just before serving for the best texture and appearance.
Freezer Friendly
This cheesecake freezes like a dream for up to three months, making it perfect for entertaining prep. Slice it first, then wrap individual pieces in plastic wrap followed by aluminum foil. Thaw overnight in the fridge for best results. The texture might be slightly denser after freezing, but the flavor remains perfect. Pro tip: freeze the lemon curd separately in small portions, then thaw and spoon over each slice for that fresh-made appearance.
Best Reheating Method
While cheesecake is traditionally served cold, sometimes you want it slightly less chilly. Never microwave it—that creates hot spots that can make the texture rubbery. Instead, let slices sit at room temperature for 20-30 minutes before serving. If you must warm it (though I don't recommend it), place slices in a 200°F oven for 5-7 minutes, just until the chill is off. Add a tiny splash of water before reheating—it steams back to perfection and prevents drying out.