It began with a kitchen calamity that would have you rolling your eyes and muttering, “I can’t believe I just made a potato mess.” I had been experimenting with a batch of latkes that turned out soggy and flavorless, and my friend dared me to turn the disaster into a culinary triumph. The moment the sizzling sizzle hit the pan, the air filled with a crisp, buttery aroma that made my mouth water even before I could taste it. I was determined to rewrite the narrative and create a latke that would make every bite a crunchy, golden revelation. This is not just another recipe; it’s a manifesto for anyone who’s ever stared at a stack of potatoes and wondered if there was a better way to honor them.
Picture this: a bowl of freshly grated potatoes, their specks of starch glistening like tiny pearls, mingling with the sharp, bright scent of onions that cut through the room. The sound of the grater’s rasping rhythm is a prelude to the golden crunch that will erupt when the latke hits the hot oil. The texture is a delicate balance—soft on the inside, a brittle, caramelized shell on the outside that shatters like thin ice when you bite. The flavor is a savory whisper of salt, pepper, and a hint of garlic powder that lingers on the tongue, inviting you to dive deeper. And the experience? It’s a sensory rollercoaster that will have you reaching for the next one without hesitation.
What sets this version apart from the countless other latke recipes floating around is the meticulous attention to detail in each component, from the choice of potatoes to the exact frying technique. I’ve spent hours perfecting the ratio of flour to potato, the precise temperature of the oil, and the timing of each flip so that the crust is uniformly crisp. It’s the kind of precision that turns a simple dish into a showstopper, and I’m not just talking about the taste—though that’s a huge part of it. It’s about the confidence you feel when you plate the latkes, knowing that every bite will be a triumph. I dare you to taste this and not go back for seconds; the moment you do, you’ll understand why I’m so passionate about this recipe.
I’ll be honest—my first batch of latkes had me on the brink of giving up, but once I refined the process, the results were nothing short of miraculous. The crust became a golden, crackling shell that kept the potatoes inside tender and fluffy. The flavors danced together in a harmony that made the dish feel like a celebration. Most recipes get this completely wrong; they either overcook the potatoes or under-season the batter, leading to a bland, soggy result. Here’s what actually works: a simple yet powerful combination of ingredients and techniques that elevate the humble latke to a culinary masterpiece.
Picture yourself pulling this out of the pan, the whole kitchen smelling incredible, the sound of the last latke hitting the counter, and the anticipation of that first bite. The anticipation is almost as delightful as the crunch. This is hands down the best version you’ll ever make at home, and I’m thrilled to share every single step with you. Let me walk you through every single step—by the end, you’ll wonder how you ever made it any other way.
What Makes This Version Stand Out
- Crunch: The secret to a rock-solid, crackling crust lies in the right oil temperature and a balanced flour-to-potato ratio. The result is a latke that snaps audibly when you bite, delivering an instant burst of flavor.
- Flavor Depth: A touch of baking powder and garlic powder unlocks a subtle, savory complexity that makes each bite more than just salty. It’s the difference between a good latke and a memorable one.
- Texture Balance: The grated potatoes are mixed with flour just enough to bind, creating a moist interior that contrasts perfectly with the crisp exterior.
- Time Efficiency: The entire process from prep to plating takes less than 45 minutes, making it a quick yet impressive dish for any occasion.
- Make‑Ahead Friendly: You can assemble the batter, refrigerate it, and fry it later without losing quality—ideal for busy mornings or last‑minute gatherings.
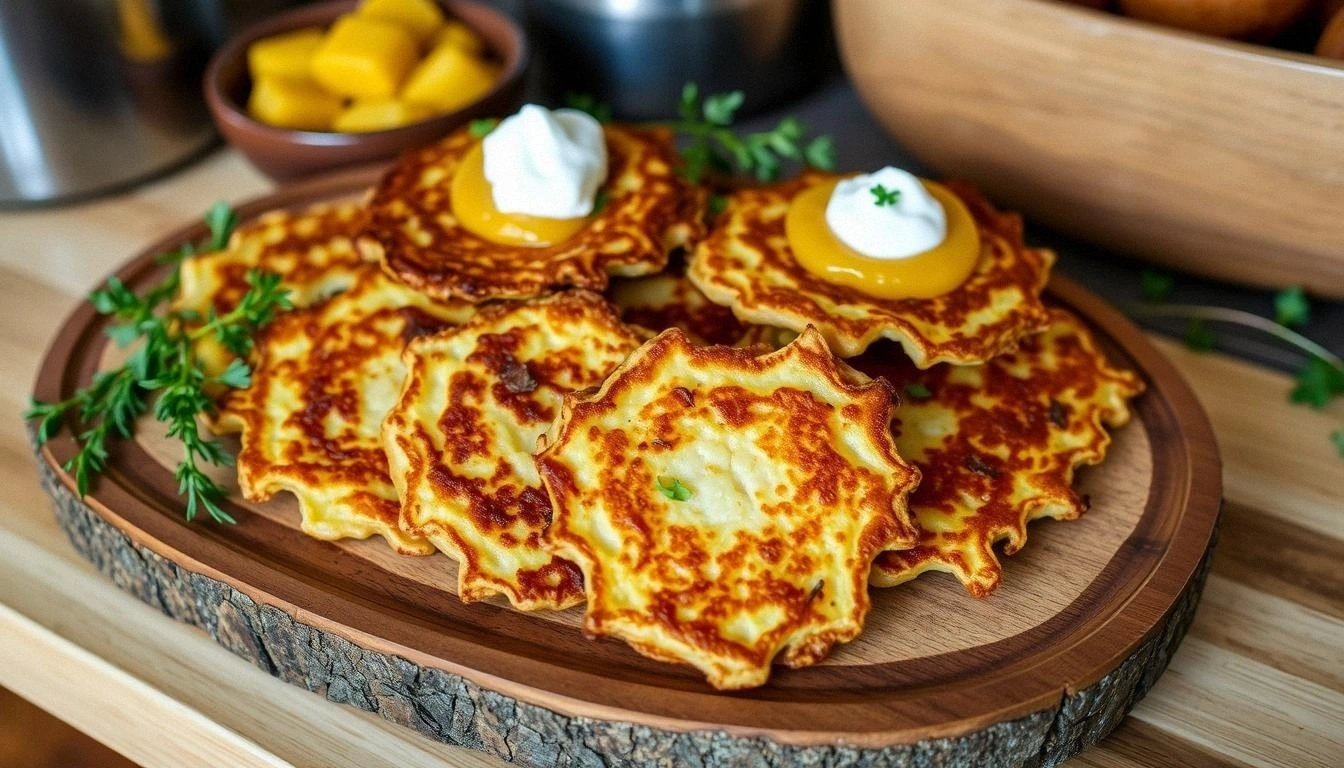
- Versatility: These latkes pair wonderfully with sour cream, applesauce, or even a drizzle of honey for a sweet twist, proving they’re not limited to a single flavor profile.
Alright, let's break down exactly what goes into this masterpiece...
Inside the Ingredient List
The Flavor Base
The foundation of any great latke starts with the potatoes. I use Russet potatoes for their high starch content, which gives the batter a natural bind and a slightly sweet undertone. When grated, the potatoes release just enough moisture to keep the latkes tender inside, but not so much that the batter becomes soggy. If you skip the potatoes, you lose that essential heart of the dish, and the latkes become nothing more than a flour pancake.
The Texture Crew
All-purpose flour is the unsung hero that holds everything together. It creates a light, airy crumb inside while also forming a sturdy shell on the outside. The baking powder adds a subtle lift, preventing the latkes from becoming too dense. A pinch of garlic powder brings depth without overpowering the natural potato flavor. If you prefer a gluten-free version, swap the flour for a 1:1 blend of oat and rice flour, but be prepared for a slightly different mouthfeel.
The Unexpected Star
Eggs are the binder that brings the batter to life. They not only help the latkes hold their shape but also contribute to the golden browning through the Maillard reaction. A single egg is sufficient for four servings, but adding a second egg will yield a richer, more decadent result. If you’re vegan, a tablespoon of aquafaba can replace one egg, though the texture will be a touch less firm.
The Final Flourish
Seasoning is everything. Salt amplifies the natural flavors, while black pepper adds a subtle heat that keeps the dish from feeling flat. A splash of vegetable oil is essential for frying, but you can also use clarified butter for a richer taste. Finally, the oil temperature is critical: too low and the latkes soak up oil; too high and they burn on the outside before the inside cooks. Keep the oil at 350°F (175°C) for the perfect balance.
Everything's prepped? Good. Let's get into the real action...
The Method — Step by Step
- Begin by grating the potatoes and onions using a box grater or a food processor with a grating attachment. Place the grated mixture in a clean kitchen towel or cheesecloth and squeeze out as much liquid as possible. This step is critical; excess moisture will sabotage the crispness. As the mixture dries, you’ll notice the potatoes start to clump together, hinting that the batter will bind nicely.
- Transfer the dry potato and onion mixture to a large mixing bowl. Add the flour, baking powder, garlic powder, salt, and pepper. Whisk these dry ingredients together until evenly distributed, ensuring there are no clumps of flour that could create uneven textures in the finished product.
- Beat the eggs in a separate bowl, then pour them into the dry mixture. Stir with a wooden spoon until the batter is just combined; overmixing will make the latkes tough. The batter should be thick enough to hold its shape when scooped but still pliable. If it feels too dry, add a tablespoon of water per cup of grated potato.
- Heat the vegetable oil in a large skillet over medium-high heat. To test if the oil is ready, drop a small drop of batter into the oil; if it sizzles immediately and rises to the surface in a few seconds, the temperature is around 350°F (175°C). This is the sweet spot for a golden exterior.
- Using a tablespoon or small ladle, scoop the batter into the hot oil, flattening it slightly with the back of the spoon to form a round patty. You should hear a satisfying sizzle as each latke hits the pan. Let them cook for 3–4 minutes on the first side, or until the edges start pulling away and the bottom is a deep, golden brown. Flip carefully with a spatula, and cook the second side for another 3 minutes.
- Once the latkes are cooked, transfer them to a paper towel-lined plate to drain excess oil. The paper towels will absorb the oil while preserving the crispness. Let them rest for a minute; this allows the interior to finish cooking and the exterior to firm up.
- Serve the latkes hot, accompanied by a side of sour cream, applesauce, or your favorite dip. The contrast between the savory, crispy exterior and the soft, warm interior is the ultimate comfort food experience. Enjoy while they’re still warm for the best flavor and texture.
That's it—you did it. But hold on, I've got a few more tricks that'll take this to another level...
Insider Tricks for Flawless Results
The Temperature Rule Nobody Follows
Maintaining the oil at exactly 350°F (175°C) is the secret to a perfect crust. Use a candy or deep-fry thermometer for accuracy. If the oil is too hot, the outside burns before the inside cooks; if it's too cool, the latkes absorb too much oil and become soggy. Keep a small ladle of oil in the pan to test the temperature whenever you add a new batch.
Why Your Nose Knows Best
A trained nose can detect when the batter is ready to fry. A faint, nutty aroma indicates the batter is at the right stage; if it smells raw or sweet, let it rest a few minutes. This sensory checkpoint ensures that each latke has a balanced flavor profile.
The 5-Minute Rest That Changes Everything
After mixing the batter, let it rest for 5 minutes before frying. This allows the flour to hydrate fully, creating a smoother batter that yields a more cohesive structure. Skipping this step often results in uneven textures and a less stable crust.
Use the Right Oil
While vegetable oil works well, a neutral oil with a high smoke point—like canola or peanut oil—will give you the cleanest flavor and the highest frying temperature. If you prefer a richer taste, try clarified butter, but keep an eye on the temperature to avoid burning.
Don’t Overcrowd the Pan
Adding too many latkes at once lowers the oil temperature dramatically. Cook in small batches of two or three to maintain the ideal heat and ensure each latke cooks evenly. This simple trick prevents greasy, unevenly cooked latkes.
Creative Twists and Variations
This recipe is a playground. Here are some of my favorite ways to switch things up:
Herbed Jalapeño Latkes
Add finely chopped jalapeños and fresh herbs like cilantro or parsley to the batter for a spicy, aromatic twist. The herbs bring brightness, while the jalapeños add a subtle heat that pairs well with a cool yogurt dip.
Cheese-Encrusted Latkes
Sprinkle shredded cheddar or mozzarella on the top of each latke before frying. The cheese melts into a gooey, golden crust, creating a decadent version that’s perfect for brunch.
Sweet Potato Latkes
Swap regular potatoes for sweet potatoes to add a natural sweetness. Pair them with a drizzle of maple syrup or a dollop of cinnamon yogurt for a holiday-inspired treat.
Vegan Latkes
Replace the eggs with a tablespoon of aquafaba or a mashed banana for binding. Use a plant-based milk to keep the batter moist. These vegan latkes are just as crispy and flavorful.
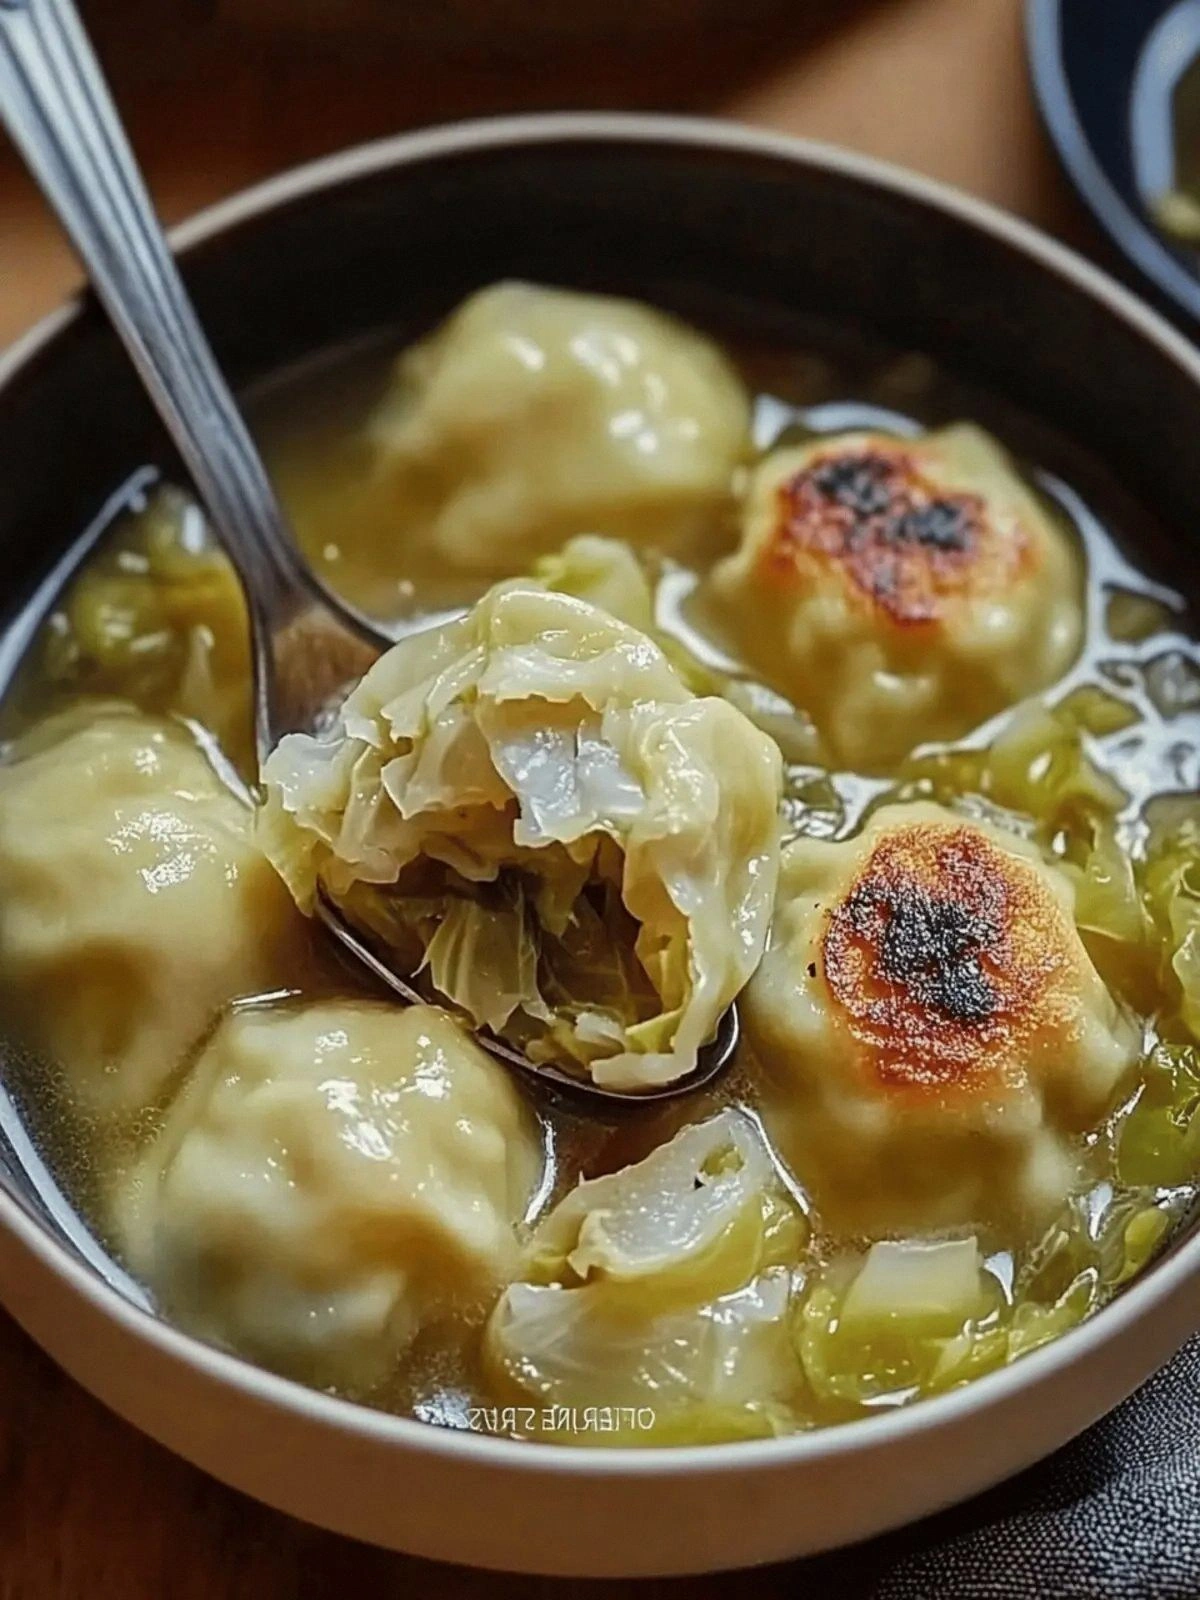
Asian-Inspired Latkes
Add finely shredded cabbage, scallions, and a splash of soy sauce to the batter. Serve with a spicy sriracha mayo for a fusion dish that’s sure to impress.
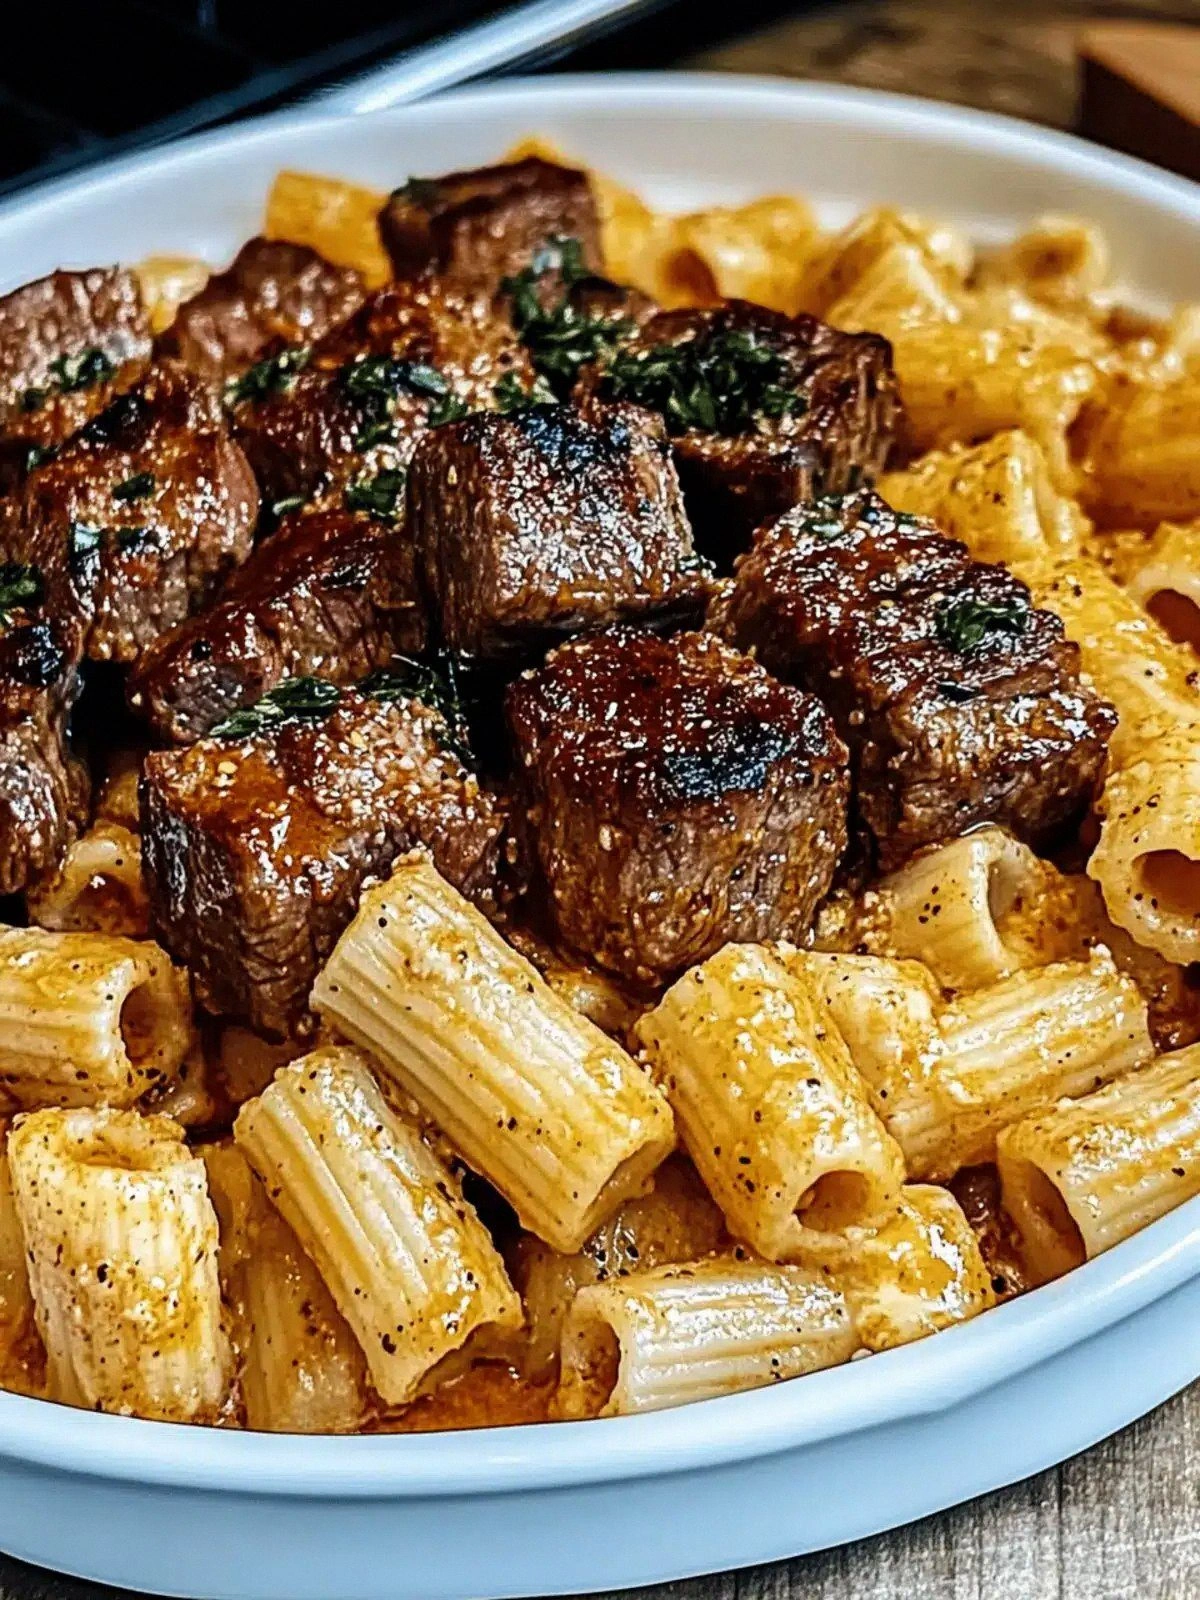
Latke Tacos
Use the latkes as a base for taco fillings—top them with seasoned ground beef, salsa, avocado, and shredded cheese for a fun, handheld meal.
Storing and Bringing It Back to Life
Fridge Storage
Cool the latkes completely, then arrange them on a wire rack or parchment paper. Store in an airtight container for up to 3 days. The crispness will hold, but for the best texture, reheat them in a hot skillet.
Freezer Friendly
Place cooked latkes in a single layer on a baking sheet, freeze until solid, then transfer to a freezer bag. They can be stored for up to 2 months. When ready, reheat in a skillet or oven to preserve the crunch.
Best Reheating Method
Reheat latkes in a hot skillet over medium heat for 2–3 minutes per side, or in a preheated oven at 375°F (190°C) for 10 minutes. Add a splash of water to the pan before reheating to steam the latkes back to perfection.