Love this? Pin it for later! 📌
Nothing beats the aroma of chili simmering on the stove, but let me confess: I used to spend a small fortune on those tiny packets of chili seasoning. One snowy January afternoon, while digging through my pantry and finding three half-used packets that had fused together into a solid brick, I decided enough was enough. My grandmother—who could stretch a dollar like nobody's business—would have laughed at my wasteful ways. That day, I started experimenting with bulk spices, and after twelve batches of chili (my neighbors loved the taste-testing phase!), I landed on this perfectly balanced, budget-friendly mix that tastes better than any store-bought version. Now I make a year's supply at once, freeze it in recipe-ready portions, and never worry about running out mid-recipe again. Whether you're meal-prepping for a busy season, gifting homemade blends to foodie friends, or simply trying to cut grocery costs without sacrificing flavor, this homemade chili seasoning mix is about to become your new best friend.
Why This Recipe Works
- Cost-efficient: One batch costs under $2 and replaces 20+ store packets
- Customizable heat: Adjust cayenne from mild to five-alarm with simple tweaks
- Freezer-friendly: Stays potent for 18 months when frozen in airtight portions
- No fillers: Pure spices—no maltodextrin, silicon dioxide, or mystery "flavors"
- Quick dissolve: Super-fine grind means no gritty texture in your final chili
- Gift-ready: Package in mason jars with cute tags for thoughtful, thrifty presents
- Sodium-controlled: Salt is separate—great for low-sodium diets
- Multi-use: Also perfect for taco meat, roasted veggies, popcorn, and Bloody Marys
Ingredients You'll Need
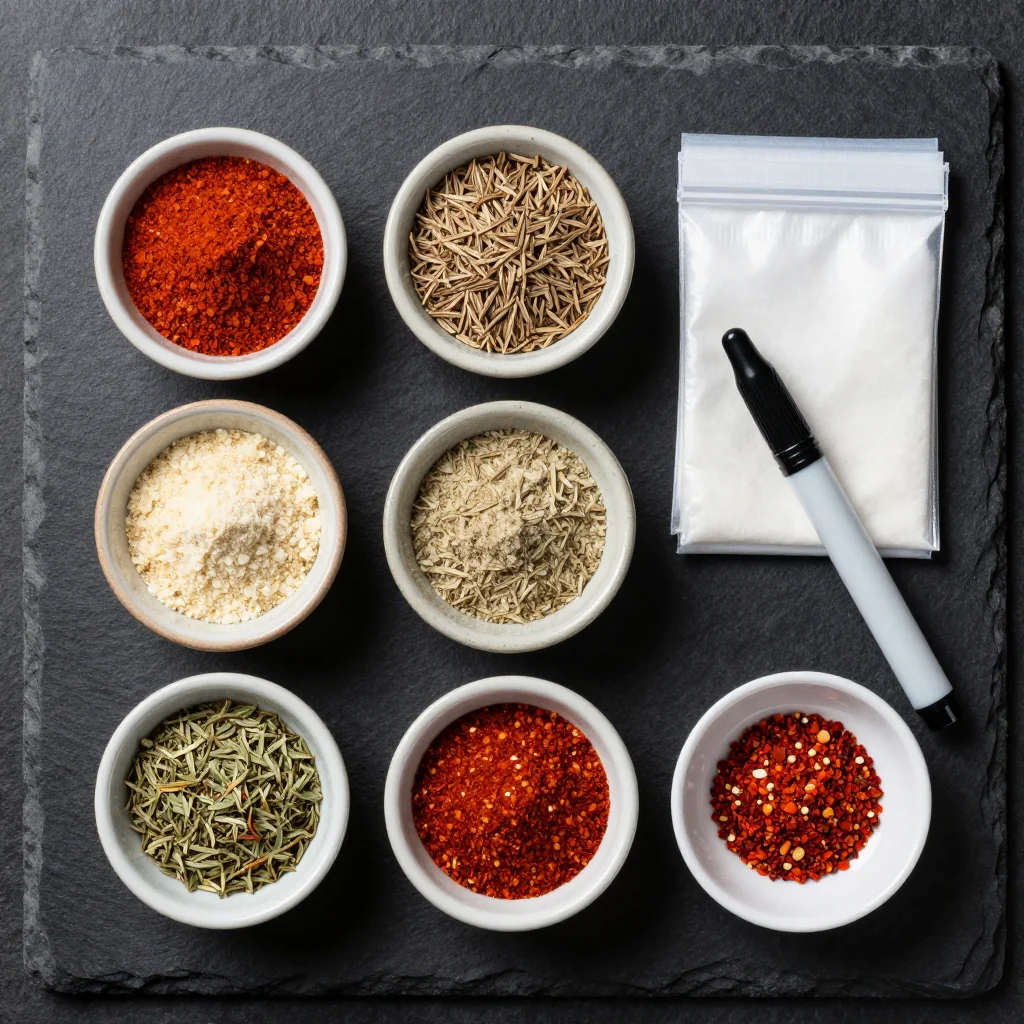
Quality spices are the backbone of this mix, but "quality" doesn't have to mean "pricey." Look for bulk bins at natural-food stores, ethnic markets, or online co-ops; you'll pay a fraction of bottled prices. When buying chili powder, choose pure chili powder—not "chili seasoning," which already contains salt and anti-caking agents. I prefer ancho or New Mexico chilies for their deep, fruity notes, but any medium-heat single-origin chili powder works.
Cumin should smell toasty, not dusty; buy whole seeds and grind small batches in a coffee grinder for maximum punch. Smoked paprika adds campfire complexity without liquid smoke's chemical edge; if you only have sweet paprika, swap in ½ teaspoon of chipotle powder for smokiness. Oregano—preferably Mexican—is more robust than Mediterranean varieties; crush it between your palms to release oils.
Cocoa powder might surprise you, but it's the secret ingredient that rounds out acidity and deepens color. Use natural, unsweetened cocoa, not Dutch-processed. Cornstarch is optional; it helps the seasoning cling to meat and slightly thickens the chili. If you're grain-free, arrowroot or tapioca starch substitutes beautifully. Finally, brown sugar balances heat and ties flavors together. Coconut sugar or maple sugar work for lower-glycemic options.
How to Make Budget Homemade Chili Seasoning Mix for Freezing
Measure spices precisely
Set out three bowls: one for ground spices, one for whole spices you'll grind, and one for the final blend. Use a digital scale for accuracy—spoon sizes vary, but grams don't. Write each weight on a sticky note and stick it to the bowl; this prevents cross-contamination if you lose track. Sift chili powder through a fine mesh to remove clumps that resist mixing.
Toast whole spices
Warm a dry skillet over medium heat. Add cumin and coriander seeds; shake pan every 15 seconds until fragrant and a shade darker, about 3 minutes. Immediately transfer to a cold plate to stop cooking. Over-toasting introduces bitterness, so err on the lighter side. Cool completely before grinding—heat melts essential oils and creates paste instead of powder.
Grind to uniform fineness
Use a dedicated spice grinder (a $15 blade grinder pays for itself after two batches). Pulse toasted seeds 10 seconds at a time, shaking between pulses, until texture resembles flour. Strain through a fine sieve; return coarse bits to the grinder and repeat. Uniform particle size ensures every teaspoon delivers the same flavor punch and dissolves evenly in liquid.
Combine and whisk
In a large stainless bowl, whisk ground spices with remaining powders. Start slow—chili dust in your lungs is unforgettable in the worst way. Work the whisk in one direction for 30 seconds, then reverse to break clumps. Finish by rubbing mixture between your palms; friction releases volatile oils and distributes them evenly.
Portion for freezing
Line a rimmed baking sheet with parchment. Measure 2-tablespoon mounds (one recipe's worth) using a cookie scoop; freeze 1 hour until solid. Transfer cubes to a labeled freezer bag, press out air, and seal. Pre-portioning means you can grab exactly what you need without thawing the whole batch. Alternatively, fill silicone ice-cube trays for perfect squares.
Vacuum seal for longevity
Oxygen is spice's enemy. If you own a vacuum sealer, place frozen cubes in bags, seal on "gentle," then double-bag for insurance. No sealer? Use a straw: fill bag, insert straw along seal, suck out air, zip quickly. Add a 300cc oxygen absorber for commercial-grade shelf life. Store flat in the coldest part of your freezer, not the door.
Label with date & strength
Freezer tape and Sharpie fade; use a paint pen on the bag instead. Note: "Chili Seasoning, 2 Tbsp = 1 lb meat, mild-medium, Jan 2025." Include a scannable QR code linking to your recipe so recipients know how to use it. Color-code heat levels with washi tape—green for mild, yellow for medium, red for hot—so family members grab the right one.
Expert Tips
Bloom in fat first
Before adding liquid, sauté the frozen cube in a spoonful of oil for 30 seconds. Heat unlocks fat-soluble flavors and prevents raw spice taste.
Dehydrate for shelf-stable
If freezer space is tight, stir ½ tsp food-grade silica gel into the mix; it absorbs moisture so you can store in the pantry for 8 months.
Scale by weight, not cups
When tripling the recipe, multiply grams, not volume. Ground spices compress differently; weight ensures perfect replication every time.
Revive faded flavor
After 12 months, toast frozen cubes in a dry skillet for 60 seconds to reinvigorate oils. Cool before adding to chili.
Layer with fresh aromatics
Frozen seasoning gives backbone, but fresh onion, garlic, and a bay leaf added mid-cook lift the final dish to restaurant level.
Color boost trick
For deeper red hue, add ¼ tsp beet powder per cube. It dissolves invisibly and photographs like a dream for social media posts.
Variations to Try
Smoky Chipotle
Replace half the chili powder with ground chipotle and add ½ tsp liquid smoke. Perfect for venison or turkey chili.
medium-hotGreen Chile Verde
Swap paprika for ground green chile, omit cocoa, and add 1 tsp ground coriander seed. Use in white chicken chili.
mildSweet & Spicy Cincinnati
Add 1 tsp cinnamon, ½ tsp allspice, and 1 Tbsp cocoa. Serve over spaghetti with cheddar for a true Ohio experience.
mildKeto No-Bean
Omit cornstarch and brown sugar; add 1 tsp tomato powder for umami without carbs. Net carbs drop to 0.8 g per serving.
hotTaco Tuesday Blend
Double cumin, add 1 tsp oregano and ½ tsp onion powder. Use 1 Tbsp per pound of ground beef for quick tacos.
mildCaribbean Jerk Chili
Add ½ tsp thyme, ¼ tsp nutmeg, and ⅛ tsp clove. Finish chili with a splash of rum and mango puree.
mediumStorage Tips
Light, heat, oxygen, and moisture are the four horsemen of spice apocalypse. Even frozen, spices slowly lose volatile oils. For maximum potency, store cubes at –10 °F or colder (the back of a chest freezer) rather than the standard 0 °F door shelf. Label bags with both the freeze date and a "best by" 18 months out. Rotate stock using the FIFO method—first in, first out—so your older blends get used before fresher ones.
If you don't have vacuum sealer bags, wrap frozen cubes individually in plastic wrap, then place inside a zip-top bag. Press out every bubble; oxygen pockets cause freezer burn and fade color. For pantry storage, skip the freezer entirely: blend spices, add a food-grade desiccant packet, and store in 8 oz mason jars with rubber-seal lids. Keep jars inside a dark cupboard away from the stove; temperature swings accelerate staleness.
When gifting, include a small card advising recipients to keep the mix frozen until ready to use. Many people mistakenly store spices near the stove for convenience, ruining them in weeks. If you ship during summer, add a cold pack and insulated mailer so cubes arrive frozen. Finally, never defrost and re-freeze; condensation introduces moisture that invites mold and clumping.
Frequently Asked Questions
Budget Homemade Chili Seasoning Mix for Freezing
Ingredients
Instructions
- Measure & sift: Combine all ingredients in a large bowl; whisk 30 seconds in each direction to break clumps.
- Portion: Pack 2 Tbsp mixture into each cavity of a silicone mini-muffin tray; press firmly.
- Flash-freeze: Freeze tray 2 hours until seasoning pucks are solid.
- Store: Pop out pucks and vacuum-seal in recipe-ready bags; label with date and usage (2 Tbsp per 1 lb meat + 1 cup liquid).
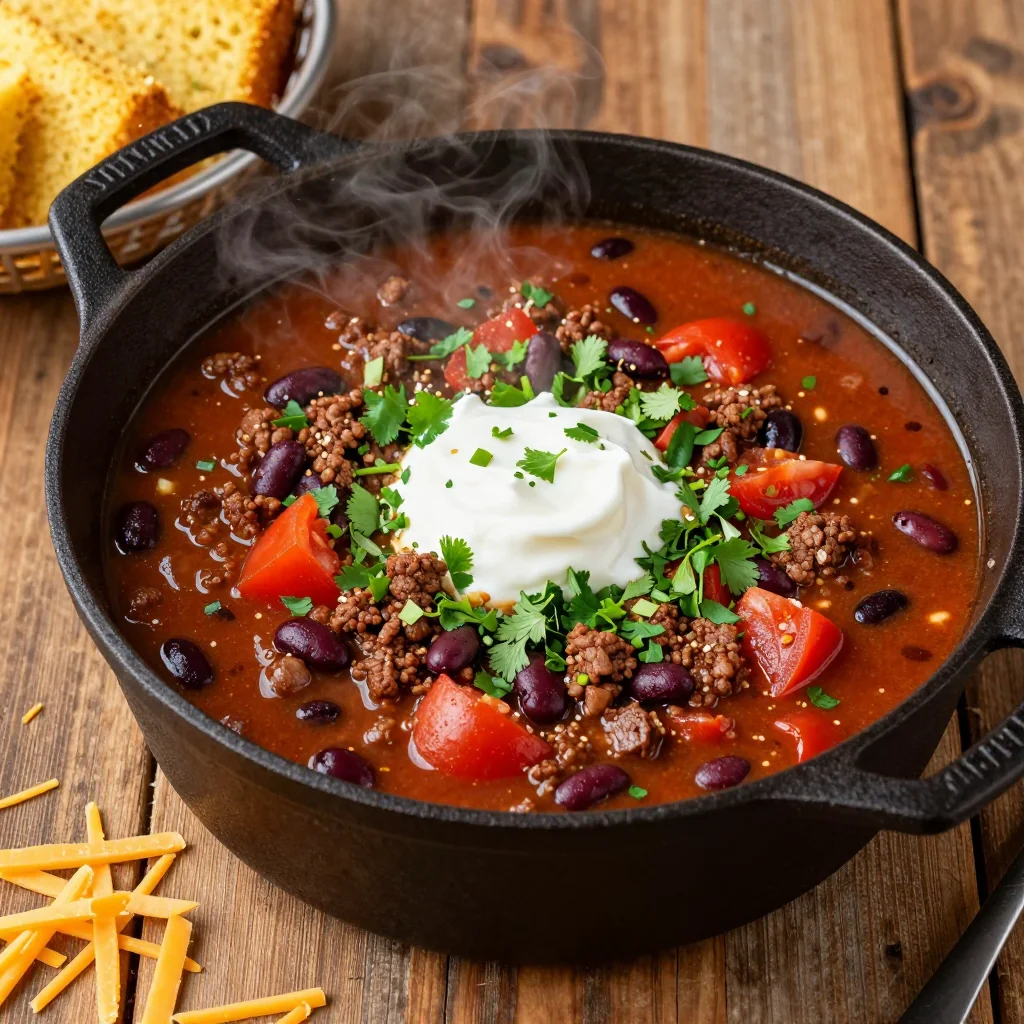
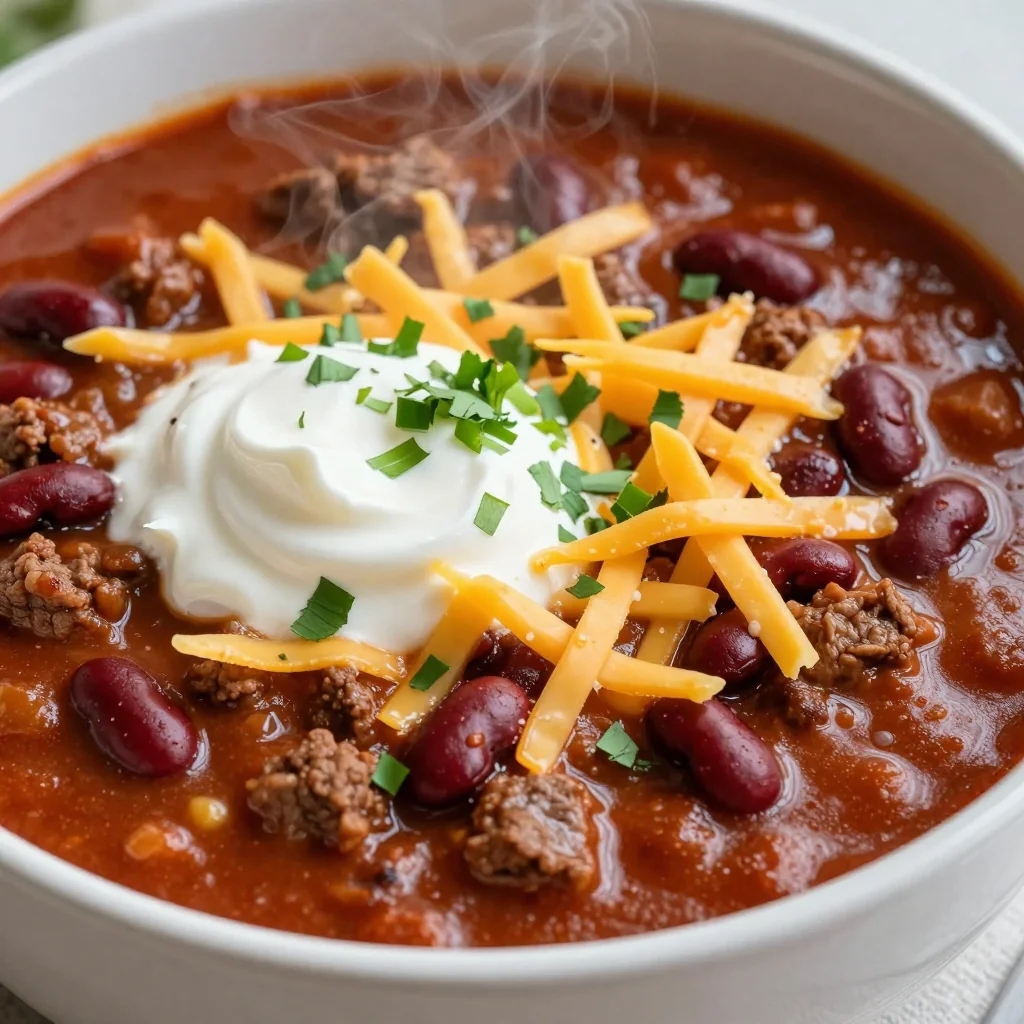
- To use: Drop frozen puck into hot oil, stir 30 seconds, add meat and liquid. Simmer 20 minutes for quick weeknight chili.
Recipe Notes
Seasoning stays potent 18 months frozen. For pantry storage, omit cornstarch and add a food-safe desiccant; use within 8 months. Salt is kept moderate—taste and adjust at the end of cooking.